I’ve made this will all kinda of fruits: blueberries, raspberries, plums, peaches, nectarines, and strawberries–no, not all at ones. Try to keep to to under 4 kinds of fruit. The less “juicy” ones tend to work a bit better because the crust doesn’t get as soggy. So if you want it have blueberries in there, I’d go light on them.
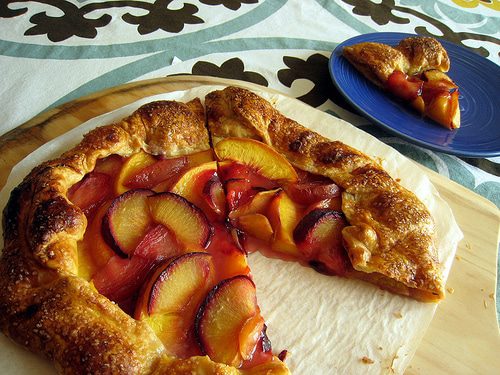
Who wouldn’t want a slice of this? I mean, really? It’s got some great fruit on there and that awesome flaky, buttery crust. All done with only a minimal amount of effort too. The crust is already made. Cut up some fruits, you don’t even need to peel them. And it goes right on a sheet pan with some foil or parchment paper. If you do it right, you don’t even have much to clean.
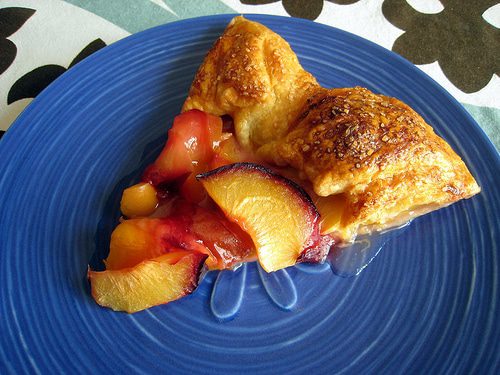 It looks good because it tastes good.
So thaw out that puff pastry and click through to get the details…
Easy summer tart
ingredients
1 sheet puff pastry
2-4 cups sliced fruit or berries (This time I had plums, peaches, and nectarines)
sugar
Directions
1. Roll out the puff pasty. Don’t be afraid to fold it over and generally manhandle it if you have to. Yes, I know, usually you want to avoid working puff pastry too much because it won’t puff as well (or it’ll get chewy), but that’s OK here. We don’t want this to puff up everywhere, we just wanted an easy way to get pie crust. So yeah, roll it out to at least a 12 inch circle. Or whatever shape you end up with (mine was most definitely not a circle).
2. Toss fruit into the center and spread it in mostly an even layer. Don’t mound it up and be sure to leave at least 2-4 inches of dough free on the sides.
3. Fold that loose dough over onto the edges of the fruit.
4. Brush the dough with water and sprinkle with sugar. (If you really want it to look nice, brush with a beaten egg then sprinkle on some sugar… but I was keeping things easy on purpose.)
5. Bake for one hour at 450F on a parchment lined sheet pan. If the crust starts turning too brown, toss a sheet of foil over the thing. If it doesn’t appear done or the fruit is too firm after one hour, continue baking for up to 30 minutes more.