Neenish tarts are another New Zealand / Australian baked treat. Although I think I may have to concede this time that the evidence points to them first being invented in Australia. From what I have read, the Australian versions have a layer of jam inside and underneath the lemony filling. I’ve never experienced this in New Zealand. But even in New Zealand, no Neenish Tart is alike. Often they are filled with a mock cream and contain no lemon. But to date I’ve never been able to better those on offer by the Wainuiomata Cake Kitchen and the lemony goo in which they fill theirs with.
After doing some research, I found that most neenish tart recipes use condensed milk for the filling, including the perhaps most well known recipe from the Edmonds Cookbook. I tried them, but the filling tasted too much like condensed milk. After quite some searching, I failed to find a recipe that would emulate the texture and flavour of those from my beloved Wainuiomata Cake Kitchen. And so I set out to try and clone them by creating my own recipe. And I think these are pretty close. In fact they are so close, that I ended up devouring the whole batch myself!! I felt so guilty afterwards that I began a diet …
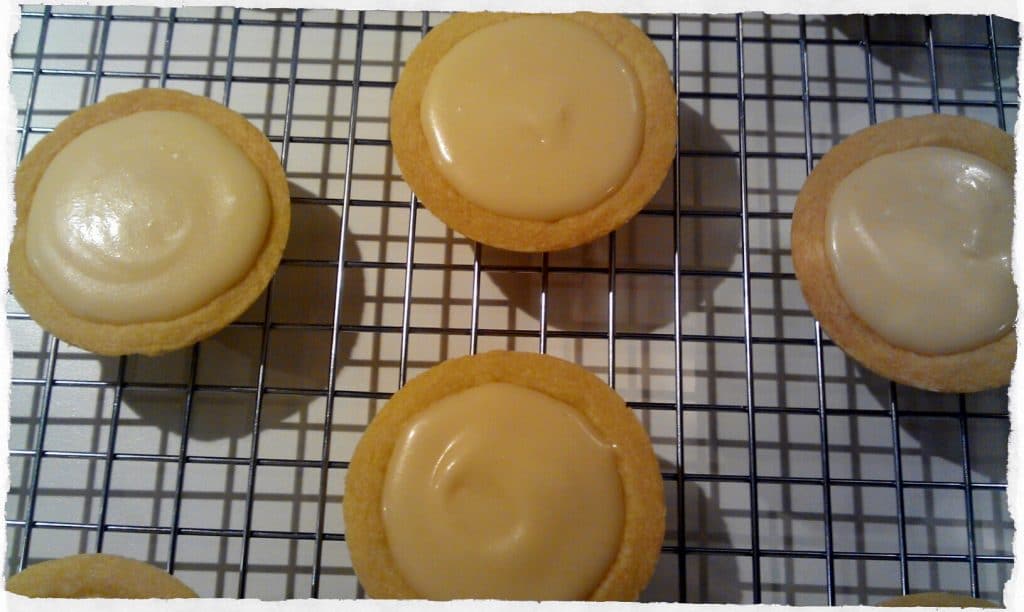
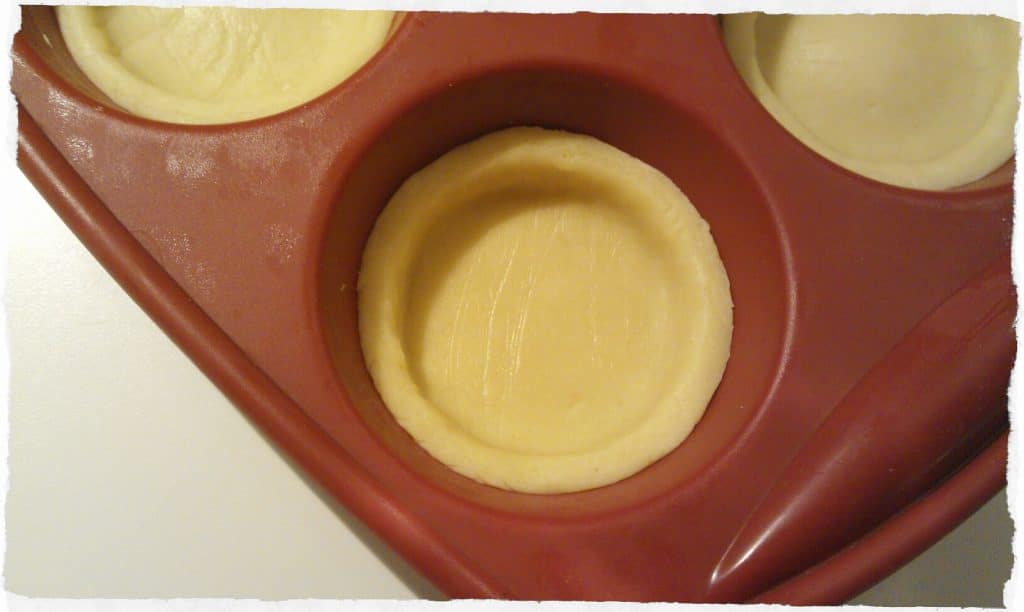
I like to make my neenish tarts in muffin tins as per the photo above in order to get a decent edge. The trick to pushing the cut out rounds into the bottom of the moulds is to gently press the edges evenly until they sink and create the shape in the photo. It’s easiest to do this when the pastry is warm and more malleable. If you don’t have the patience for this, then you could just as easily use shallow patty tins which saves the hassle of pushing the delicate pastry rounds down into the moulds.
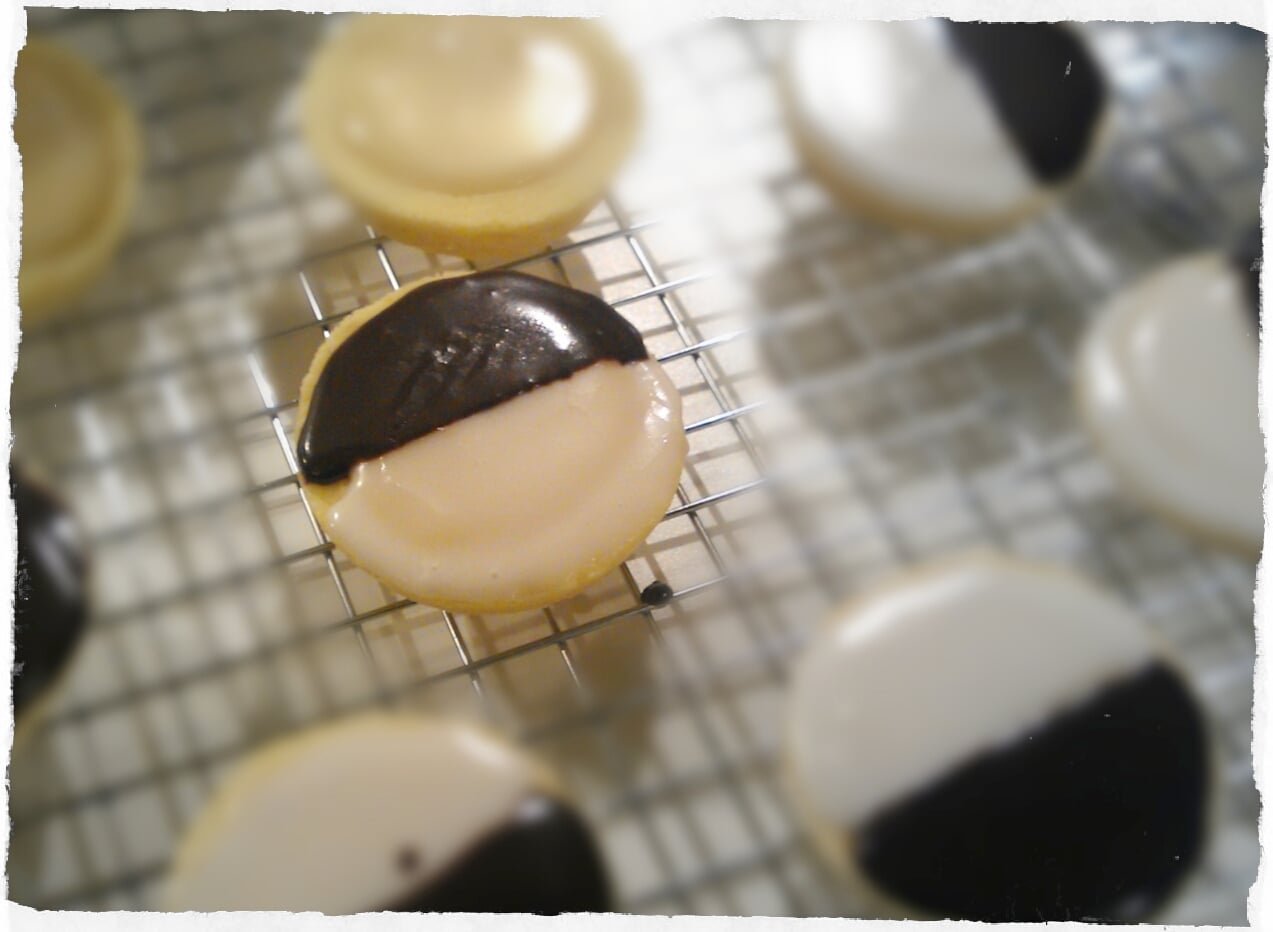
Neenish Tarts
Yields 24
Write a review
Save Recipe
Ingredients
- Sheets of Sweet Shortcrust Pastry (blog post coming soon!)
- to make the filling …
- 200g butter
- 1 cup caster sugar (fijne kristalsuiker)
- grated rind & juice of 3 lemons
- 4 eggs
- 250g icing sugar (poedersuiker)
- to make the icing …
- 80g icing sugar (poedersuiker)
- milk
- cocoa
Instructions
- Cut the Sweet Shortcrust Pastry into rounds using a pastry cutter or a glass (or something similar). Push the cut out rounds gently into muffin tins or shallow patty tins – whatever you prefer. Prick the bottoms with a fork, then chuck the tins in the freezer for about 20 minutes (this helps to stop the pastry from rising in the oven).
- Preheat the oven to 170 degrees Celsius.
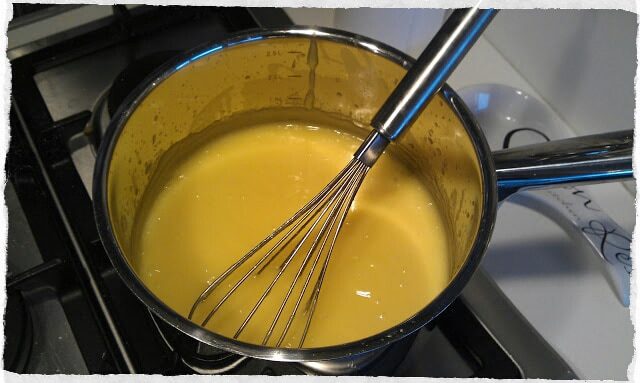
- Melt the butter gently in a medium pot. Once melted, whisk in the sugar, lemon rind and eggs and continue whisking over medium heat until the lemon curd starts to boil. Remove from the heat and leave to cool.
- Meanwhile pull the pastry shells out of the freezer and bake in the oven for about 13 minutes. Each oven is different, so you’ll need to keep an eye on them. I like my pastry shells to be faintly golden.
- Once the lemon mixture is cooled, add the icing sugar. The aim is to create a sort of loose paste. You can add more icing sugar if needed to get the desired thickness.
- Once the pastry shells are baked, leave for a few minutes in the tins before taking them out allowing them to cool fully on a wire cake rack.
- Once the pastry shells are cool, spoon the lemon mixture into them.
- Finally, make two batches of the icing, one with added cocoa and one without (use about 40g of icing sugar for each). Add a couple of drops of milk to create a paste.
- To ice the tarts, use something with a straight edge such as a ruler or mini bench scraper and hold at a 90 degree angle over the tart at the midway point. Spoon a small dab of the white icing onto one half of the tart, using the straight edge as a guide. I like to leave a little of the pastry edge showing.
- Once you’ve finished icing the white halves, go back and this time you won’t need to use a straight line to add the chocolate icing half as you can simply match it up with the edge of the white icing.
- Leave to set before devouring.
- Eet Smakelijk!!
- Monique xx

