I pulled this recipe from an old Pinterest pin and revamped it a little to make it even more healthy. They are 100% whole grain, lower in sugar & high in fiber! Plus, they really do taste awesome. I’ve had to threaten Husband’s life a couple of times to keep his hand out of the (literal) cookie jar…
The recipe makes about 100 small cookies, or about 7 cups of cookies. I’ll be doubling it next time, for sure!
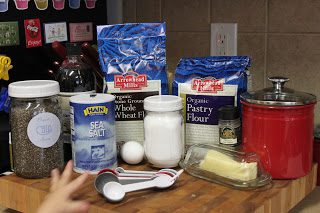
Ingredients
- 3/4 cup organic stone ground whole wheat flour
- 1/2 cup organic whole wheat pastry flour
- 1/4 cup ground chia seeds
- 1/2 teaspoon baking soda
- 1/4 teaspoon salt
- 1 teaspoon cinnamon
- 1/4 teaspoon nutmeg (optional)
- 1/2 stick butter
- 1/2 cup organic turbinido sugar
- 1 large egg
- 2 teaspoons vanilla extract
Directions
1. In a medium bowl, whisk together the first 6 ingredients, and set aside.
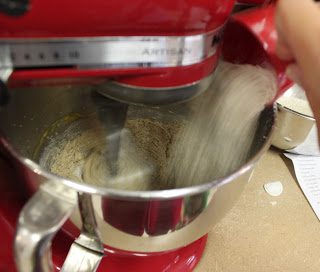
2. In the bowl of a stand mixer, cream the butter and sugar together for about 2 or 3 minutes. Add the egg and the vanilla and beat until well blended.
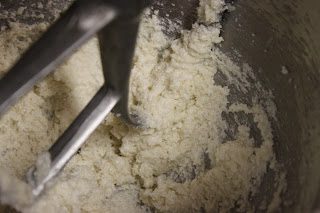
3. With the mixer on low, add the dry ingredients slowly. Continue to mix just until the mixture is combined.
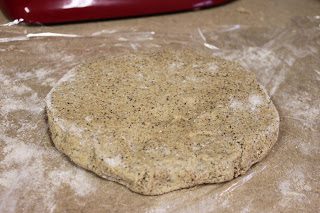
4. Lightly flour a piece of plastic wrap, and turn the dough out on it. Shape the dough into a ball, and then flatten it into a 1-inch thick disk. Wrap the ball tightly and refrigerate it for at least 2 hours.
5. When ready to bake, remove the dough from the refrigerator and allow it to warm up for about 10 minutes. Roll the dough out on a lightly floured surface to about 1/8 inch thick. If the dough sticks to the rolling pin or starts to crack, lightly dust the top with flour and continue working.
6. Dip the bottom of your cookie cutters in flour, then press into the dough. You’ll probably have to redip the cutters about every-other cookie.
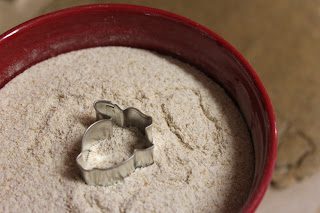
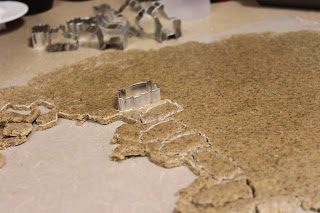
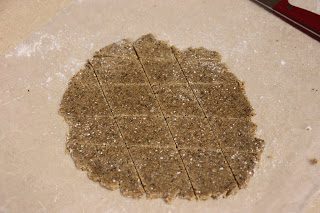
7. I usedlittle animal cutters (about 1 1/2 inch each), but if you wanted to skip the cutting, you could just use a knife to cut the dough into squares. After making animals out of the first 3/4 of the dough, I got bored and just cut the rest.
8. Use a thin spatula to transfer the cut-outs to a parchment-lined baking sheet. They won’t rise much, so you can place them pretty close to each other.
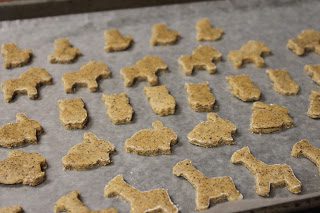
9. Put the baking sheet in the freezer for about 15 minutes. Then, bake at 350 degrees for about 10 minutes. Adjust the baking time for your preference: less for softer cookies, a little more for crunchier cookies.
10. If you want a crispier cookie, transfer the cookies to a wire cooling rack as soon as they’ve cooled enough to handle. Otherwise, the steam will be trapped and the bottom sides will be a little soft.
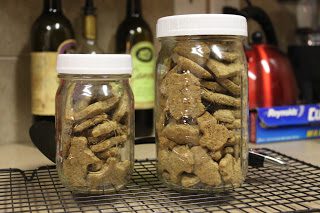
Store the cookies in an air-tight jar or bag for up to a week (probably even longer…)
![Flourless Peanut Butter Chocolate Chunk Cookies [Gluten Free + Vegan]](https://www.cookinggoals.com/wp-content/uploads/2020/02/photo92-300x300.jpg)