I’ve been busy baking lately … baking a lot. My good friend Alice is travelling in September to Uganda and will be living there for six months while working for a charity called Edukans which focuses on improving the education standards for children in Uganda. I’m so proud of her that I wanted to help support her. So we came up with the idea of letting people order some home-baked goodies and it’s been a great success!
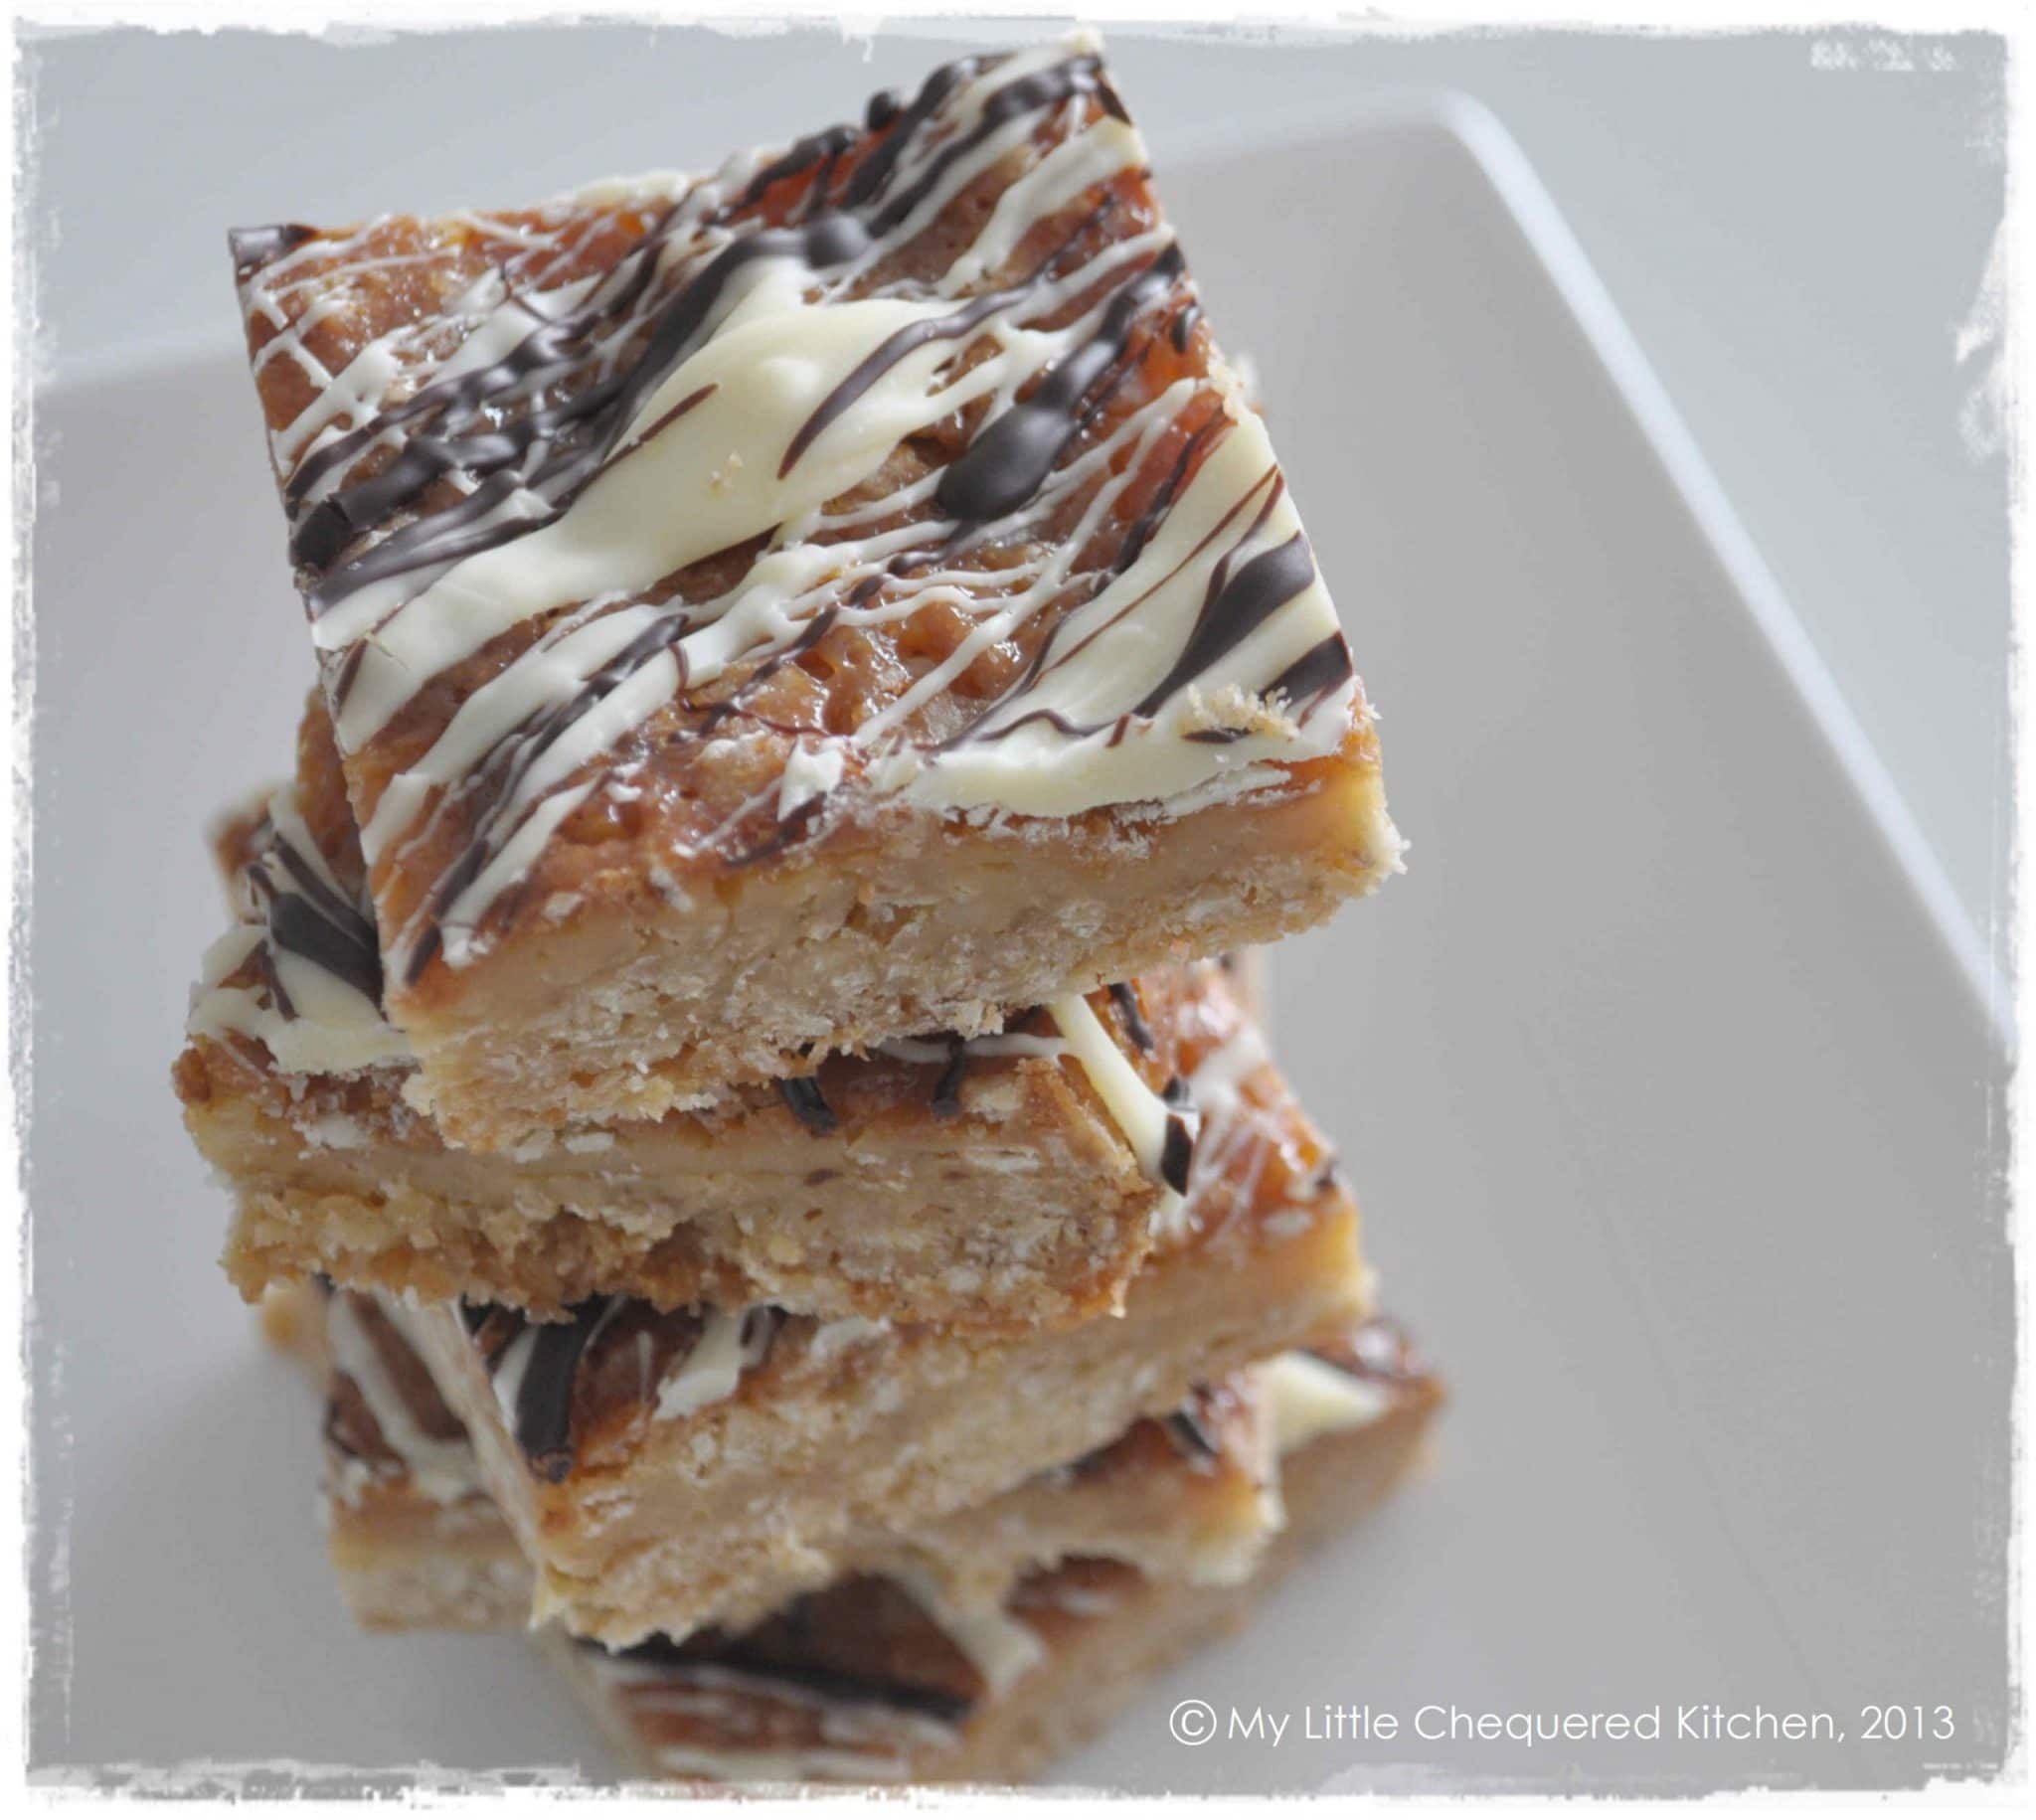
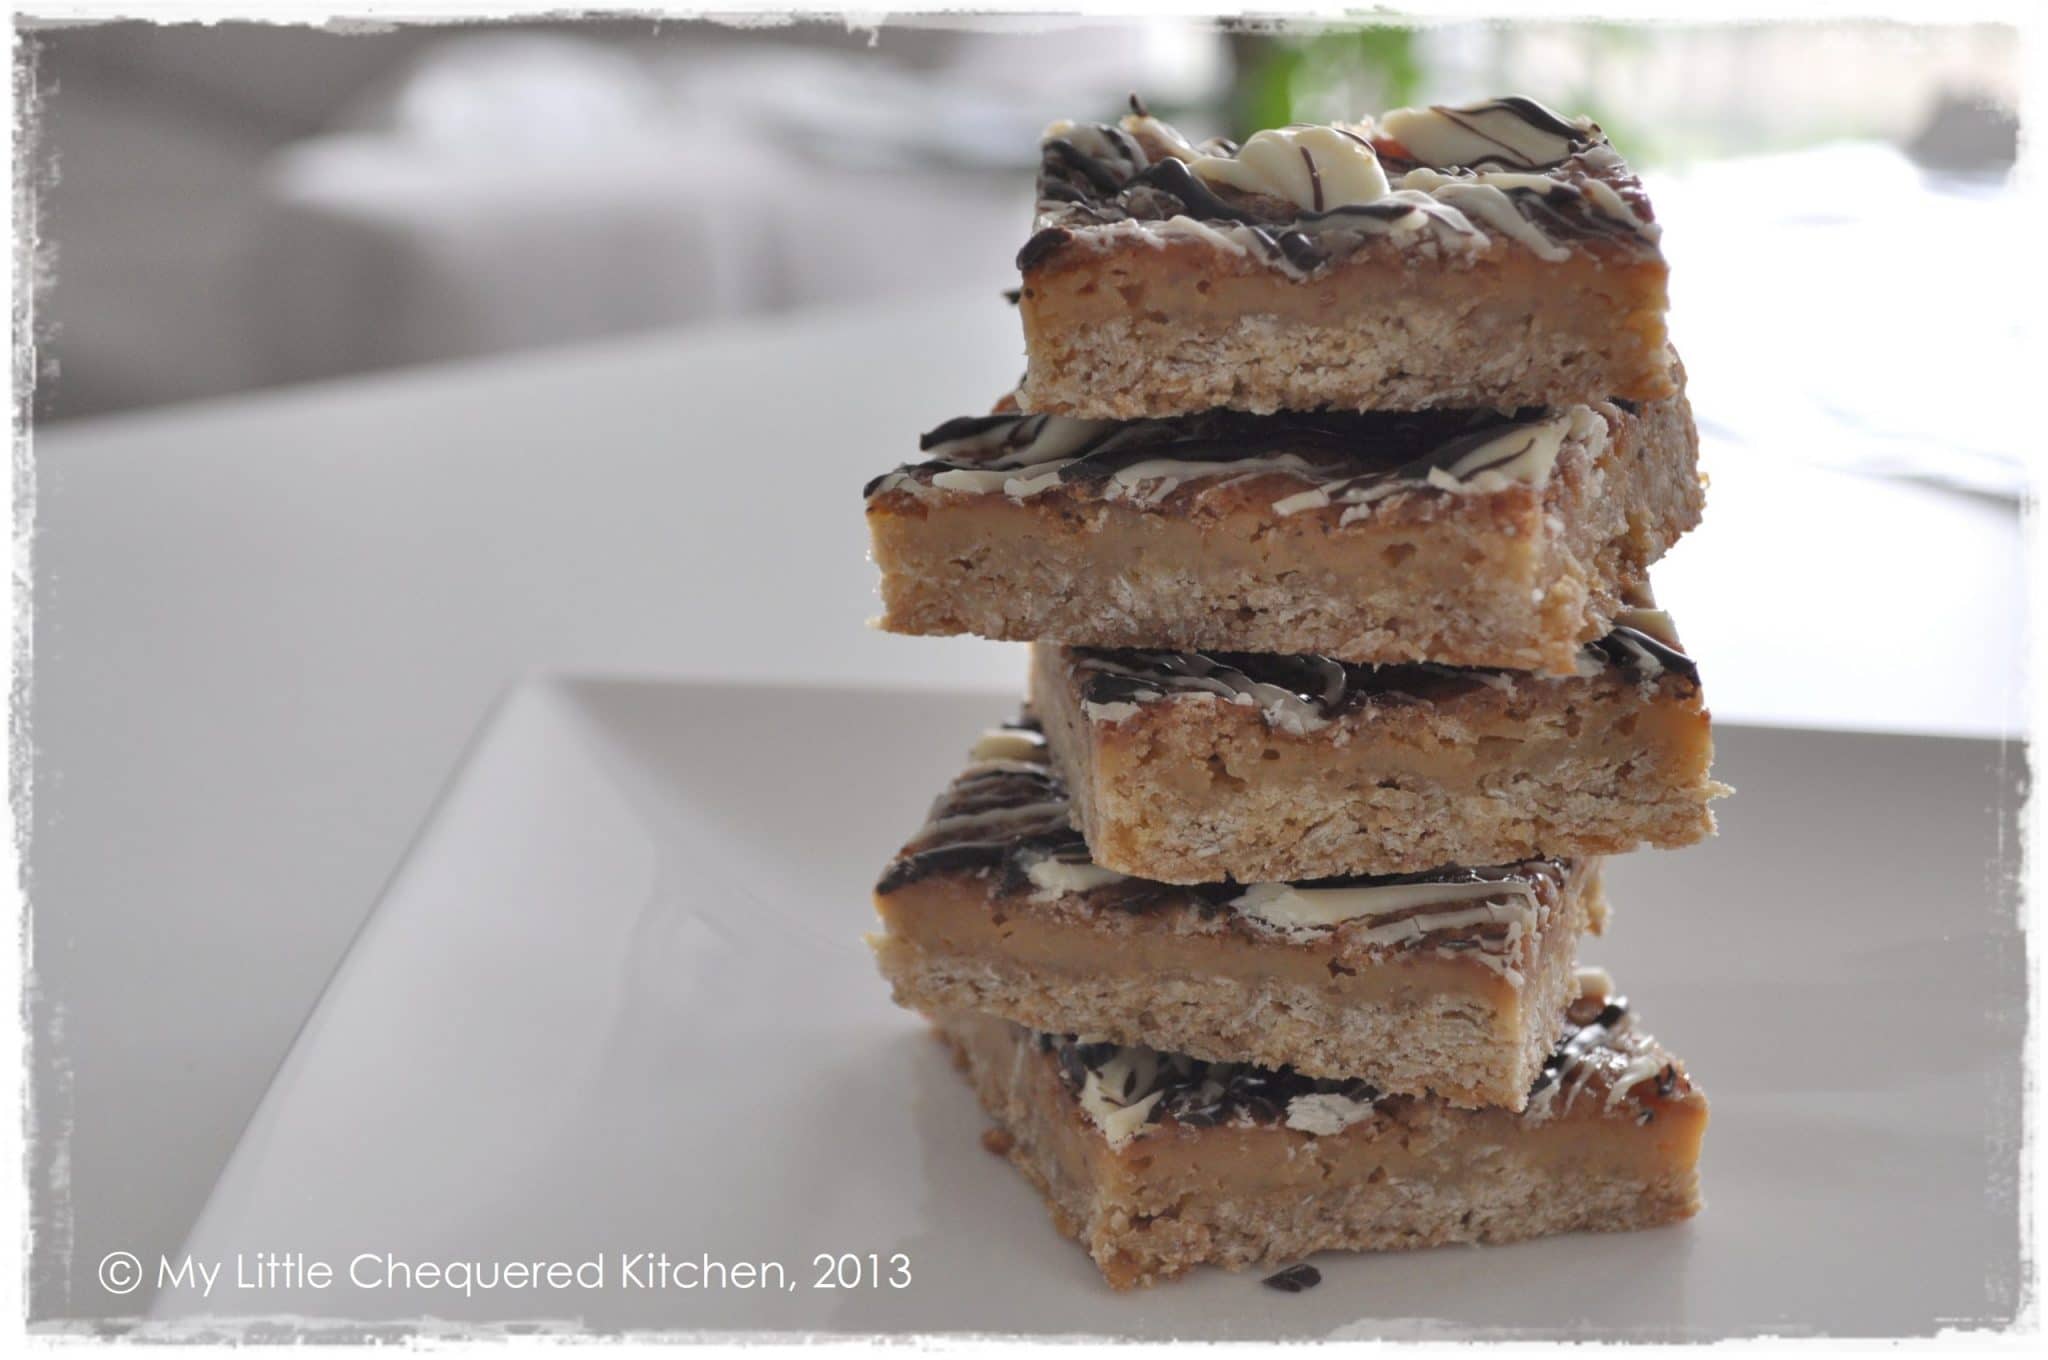
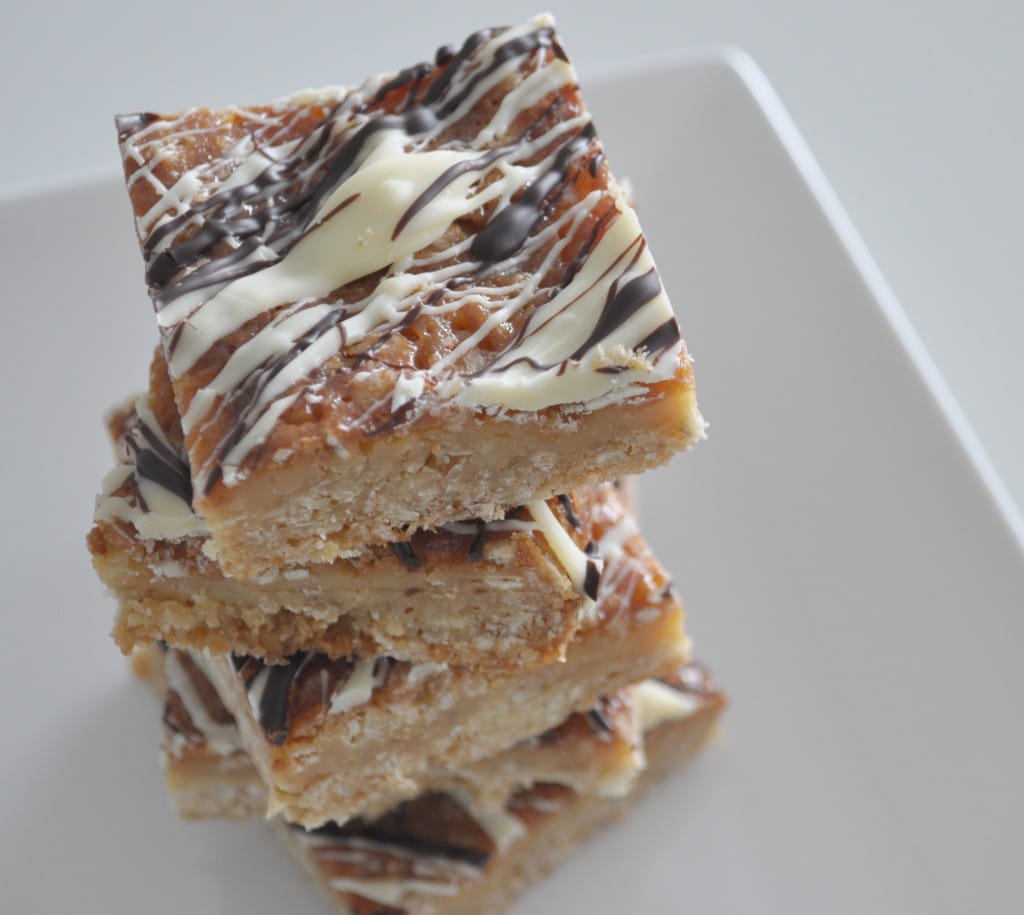
One of the treats available to order is this Caramel Oat Slice, adapted from Jo Seagar’s version in her book “It’s Easier Than You Think!”. It’s been so popular that this weekend I have to bake a whole lot of them to fulfill 19 orders just for this slice alone!
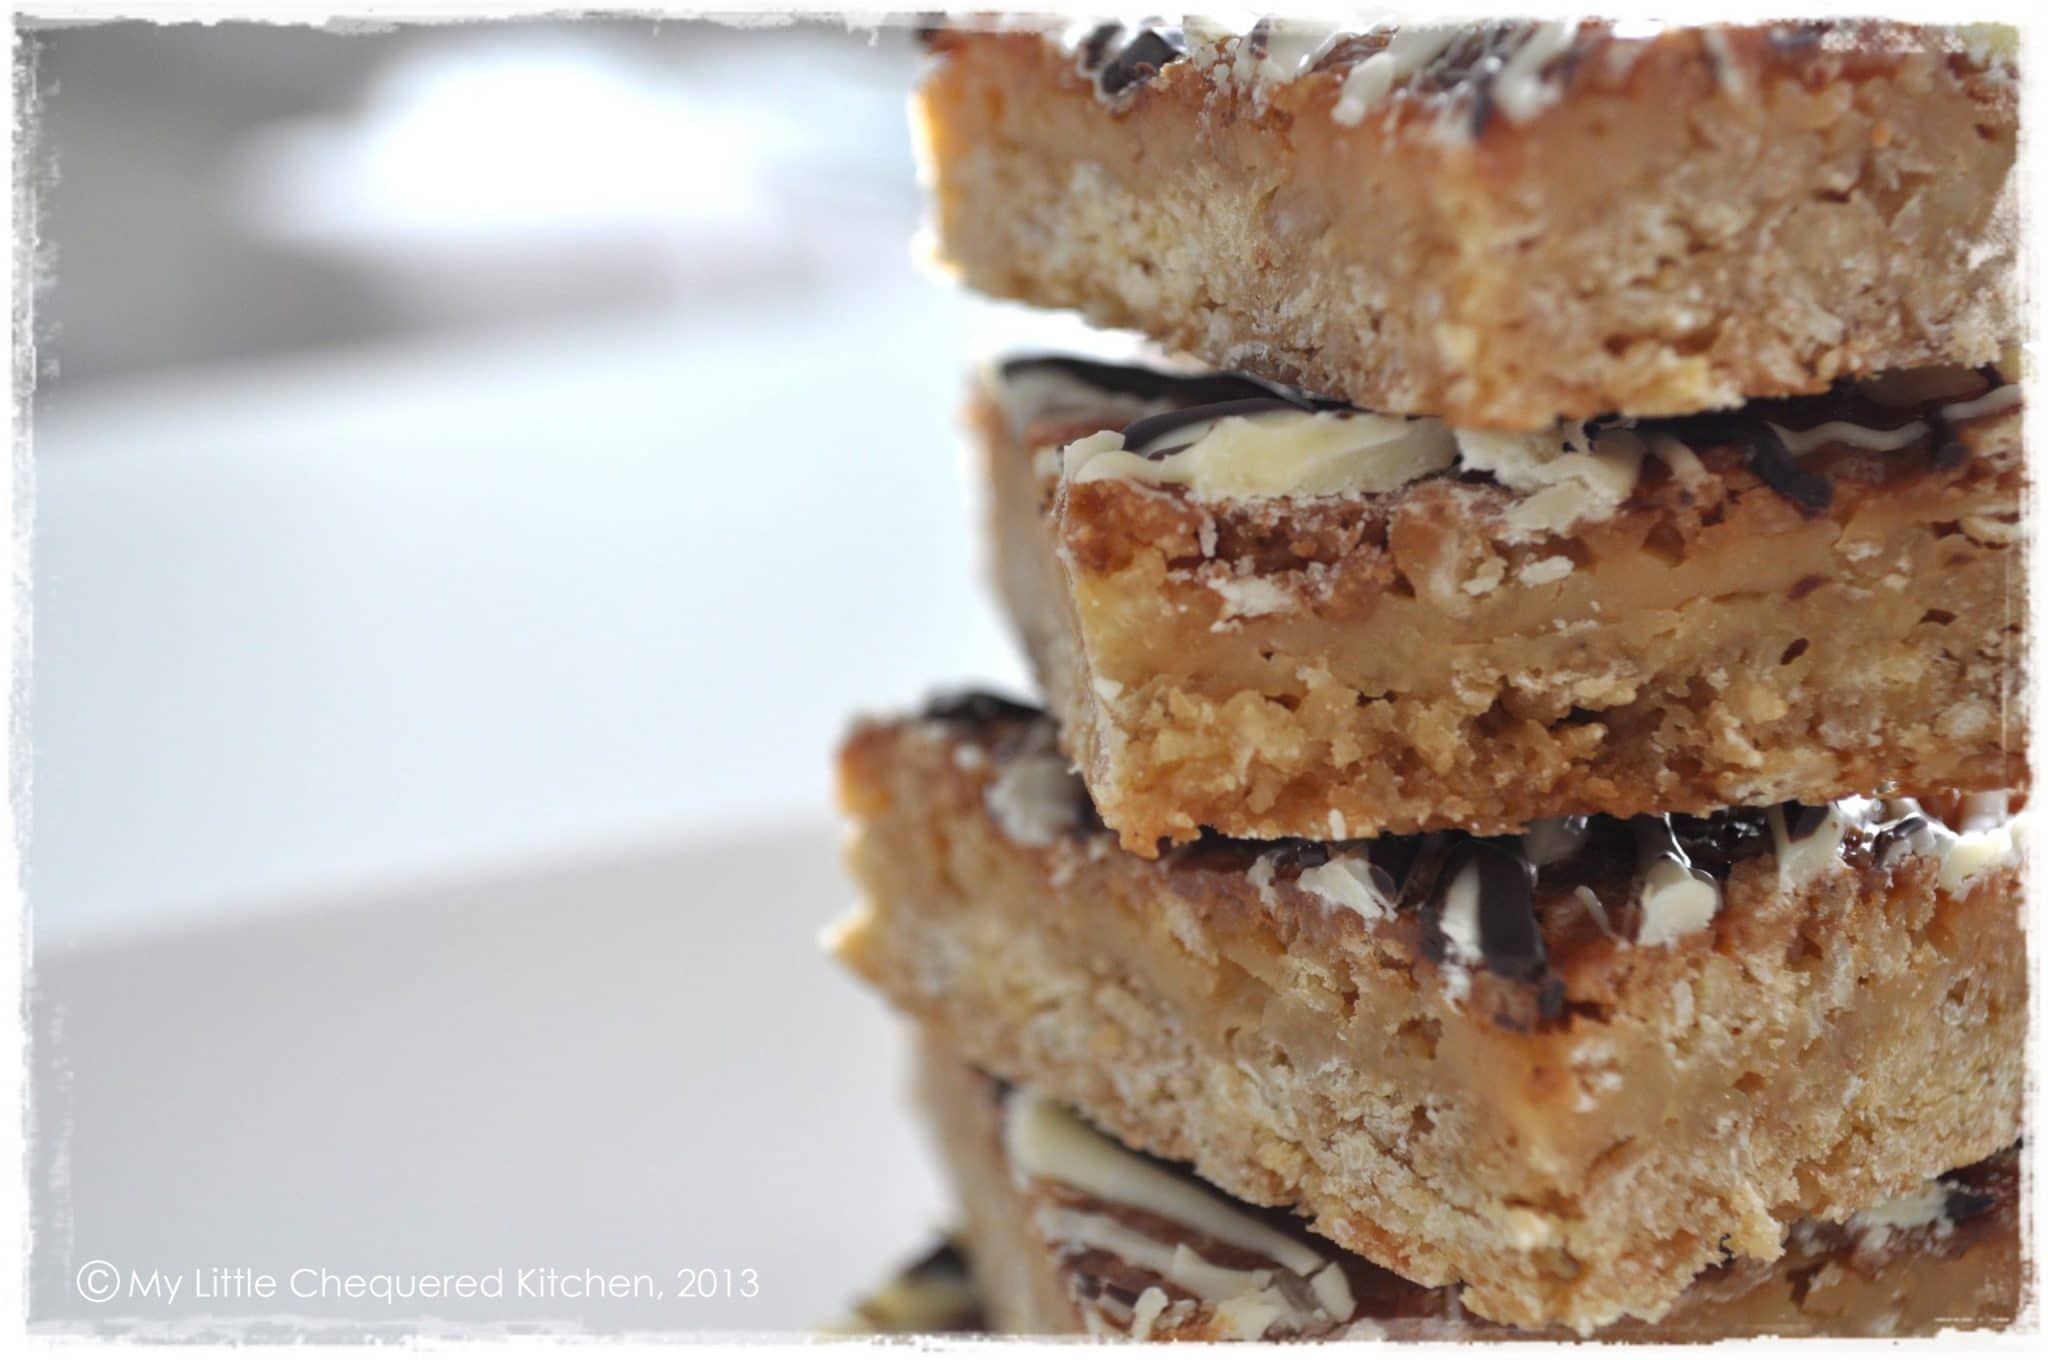
But I understand why it’s been so popular. It’s ooey, gooey, sticky, and sweet and yet the oats give it an air of wholesomeness – which of course is absolute rubbish because it’s a massive calorie bomb! But hey, a little in moderation right?
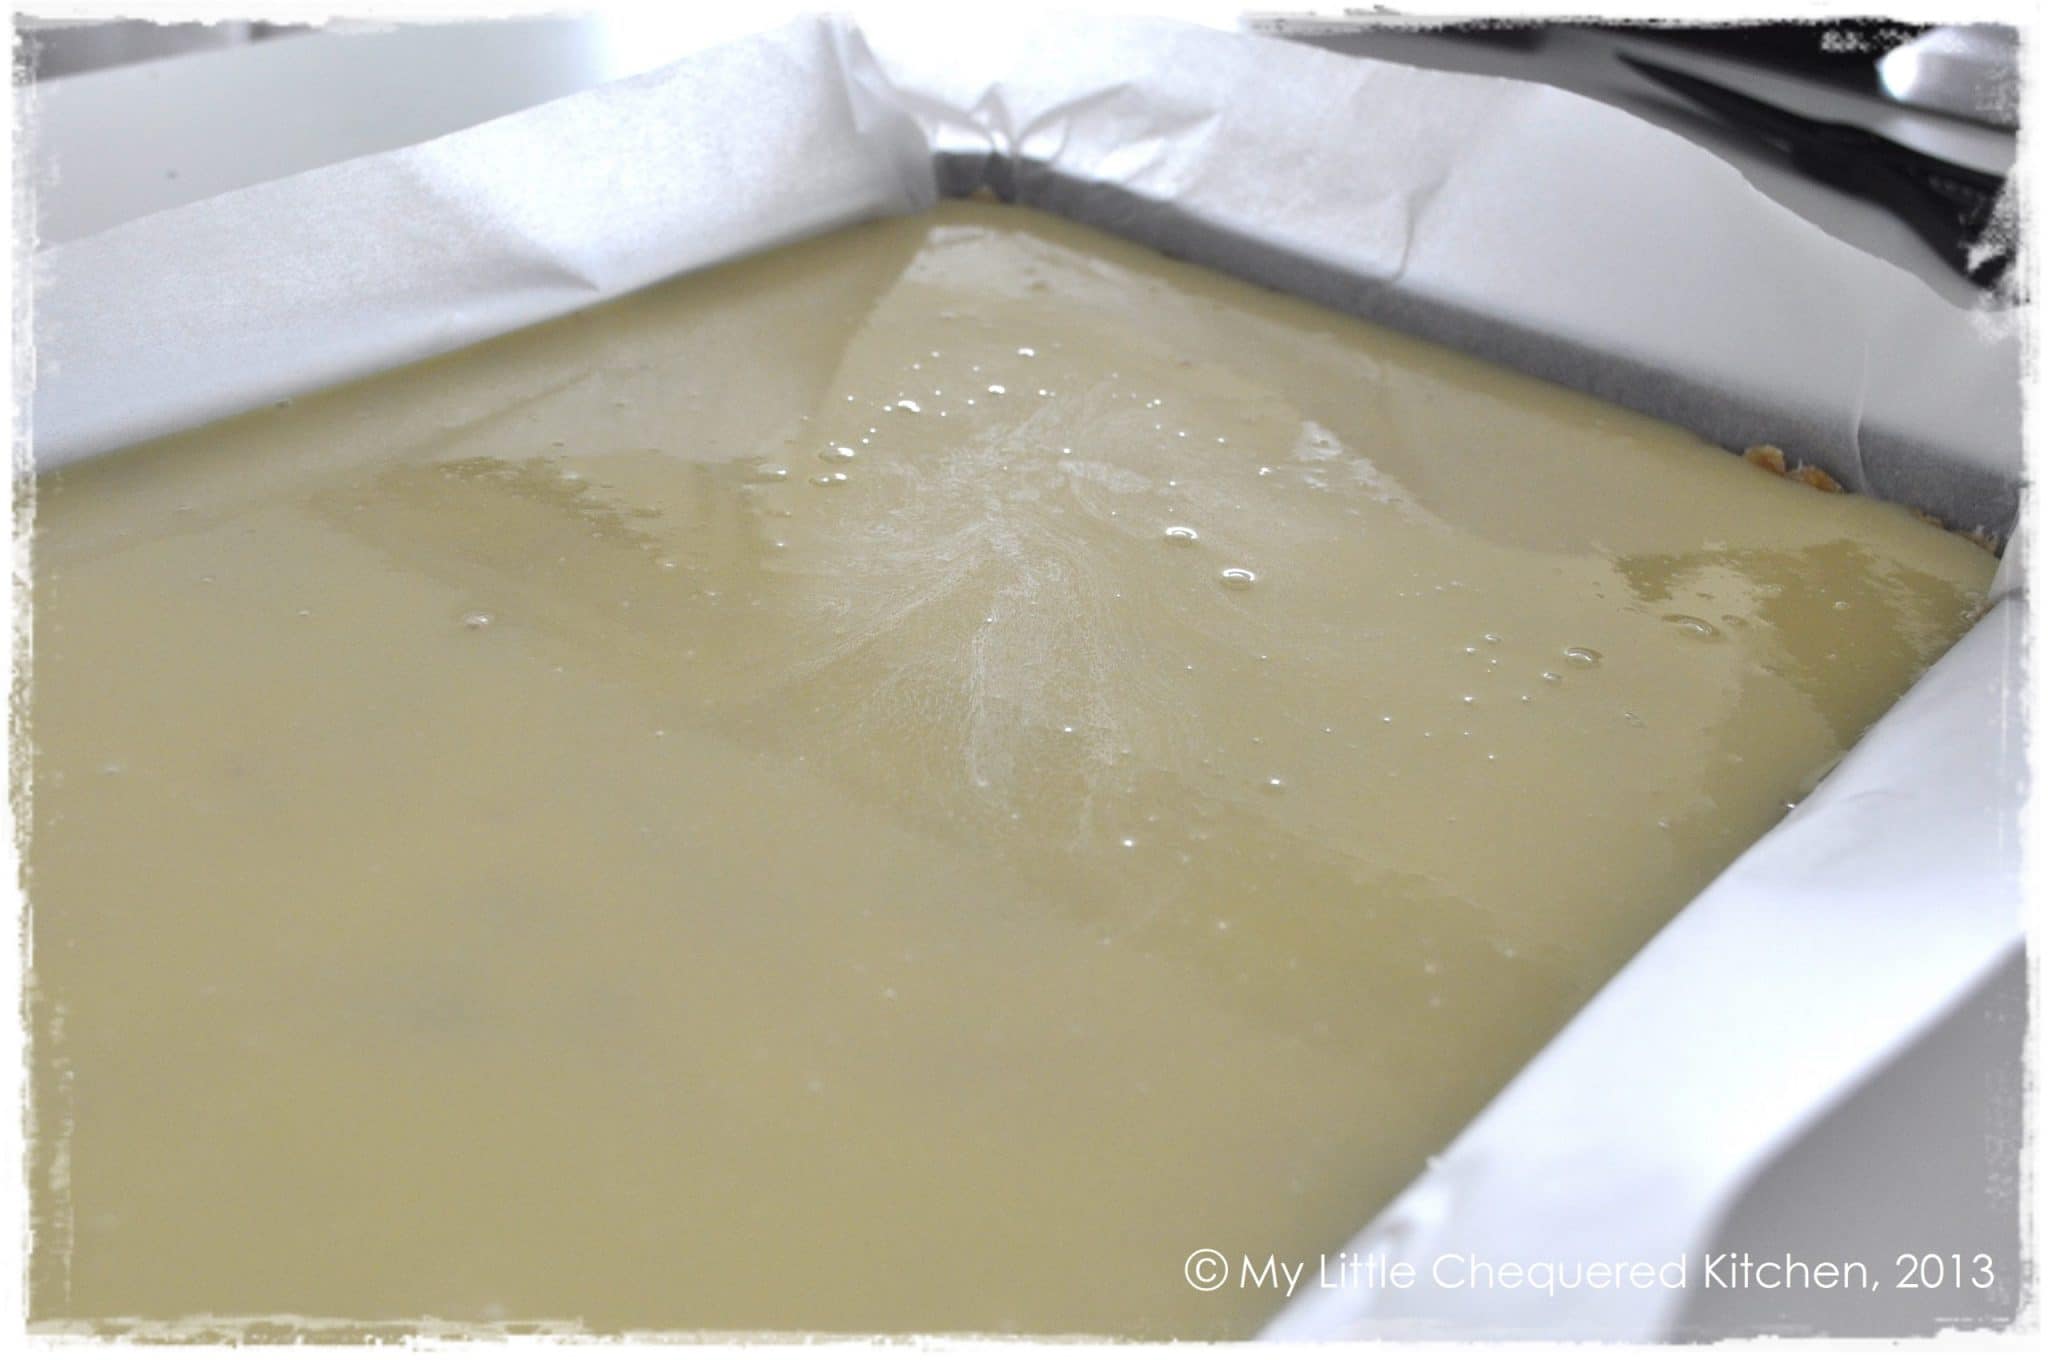
I don’t know if Jo Seagar’s recipe was supposed to come out the way it does for me or not, but I found that the caramel topping tends to soak into the base while cooking in the oven, resulting in a soft gooey slice without any layers. Still delicious, but I prefer a little more definition between the base and the caramel filling. Therefore I cook my base a little bit first before adding the caramel on top and popping it into the oven again to cook properly. I also found that Jo Seagar’s recipe contained too much base to the caramel filling so I’ve adjusted the ratios to suit my taste.
Want to know more about my friend Alice’s journey to Uganda? Keep reading, as her story (in Dutch and English) features below the recipe card. Otherwise you can visit her website for more information, including how you can help support her: http://www.alicewildeboer.inactievooredukans.nl
Caramel Oat Slice
Ingredients
- for the base …
- 200g butter
- 2 cups flour
- 3 teaspoons baking powder
- 2/3 cup desiccated coconut
- 1 1/3 cup brown sugar
- 2 cups rolled oats
- 2 small eggs
- for the caramel filling …
- 200g butter
- 2 x 400g cans sweetened condensed millk
- 4 tablespoons golden syrup
- 2 teaspoon vanilla extract
- white and dark chocolate to decorate
Instructions
- Preheat the oven to 180 degrees Celsius.
- Line a large slice or sponge roll tin with baking paper – don’t be stingy here. Make sure it’s well lined and that you have enough hanging over the edge to lift the slice out when it’s ready. Finish with baking spray.
- To make the base, melt the butter over a low heat on the stove top or in the microwave.
- Meanwhile, combine the dry ingredients in a large mixing bowl.
- Add the eggs and the melted butter and mix well, using your hands if necessary.
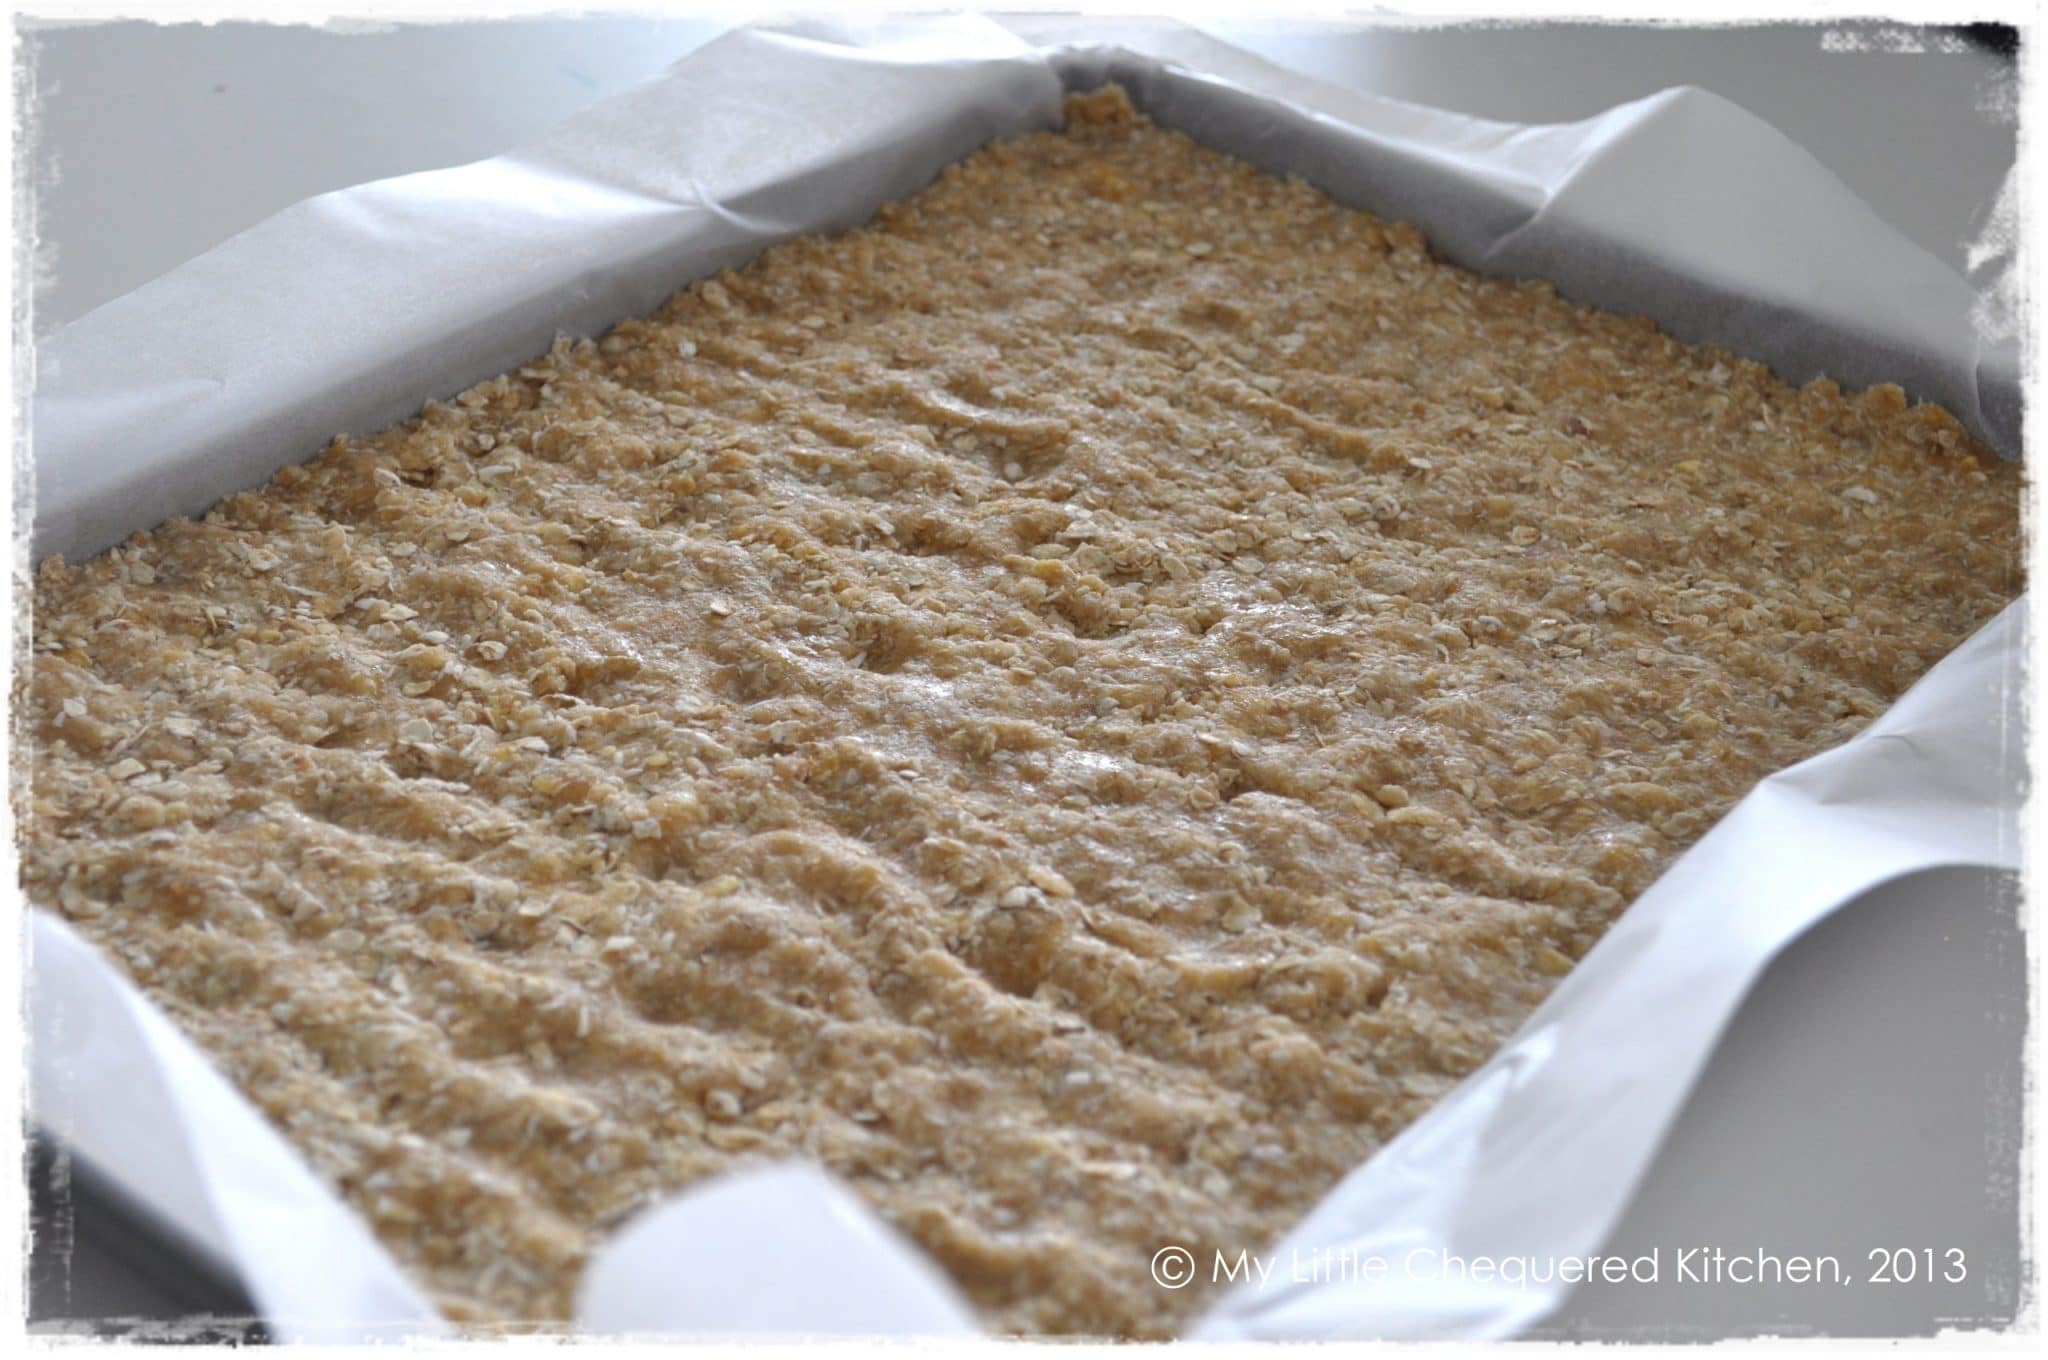
- Press the base mixture firmly into the tin, keeping one handful of the mixture aside for later.
- Put in the oven for 8 minutes to cook the base slightly. This will help to keep the caramel on top instead of soaking into the base later on.
- Meanwhile, start making the caramel filling by adding the butter, condensed milk, and golden syrup into a pot and warming on top of the stove until the butter is completely melted and all ingredients are fully mixed and incorporated.
- Once the butter has melted, take the caramel mixture off the stove and stir in the vanilla extract.
- When the base is ready, pull the tin out of the oven and pour the caramel mixture over the top of the base.
- Sprinkle the remaining base mixture on top of the caramel.
- Pop the tin back into the oven and bake for about 20 minutes or until the caramel is beautifully golden brown.
- Once cooked, let the slice cool in the tin.
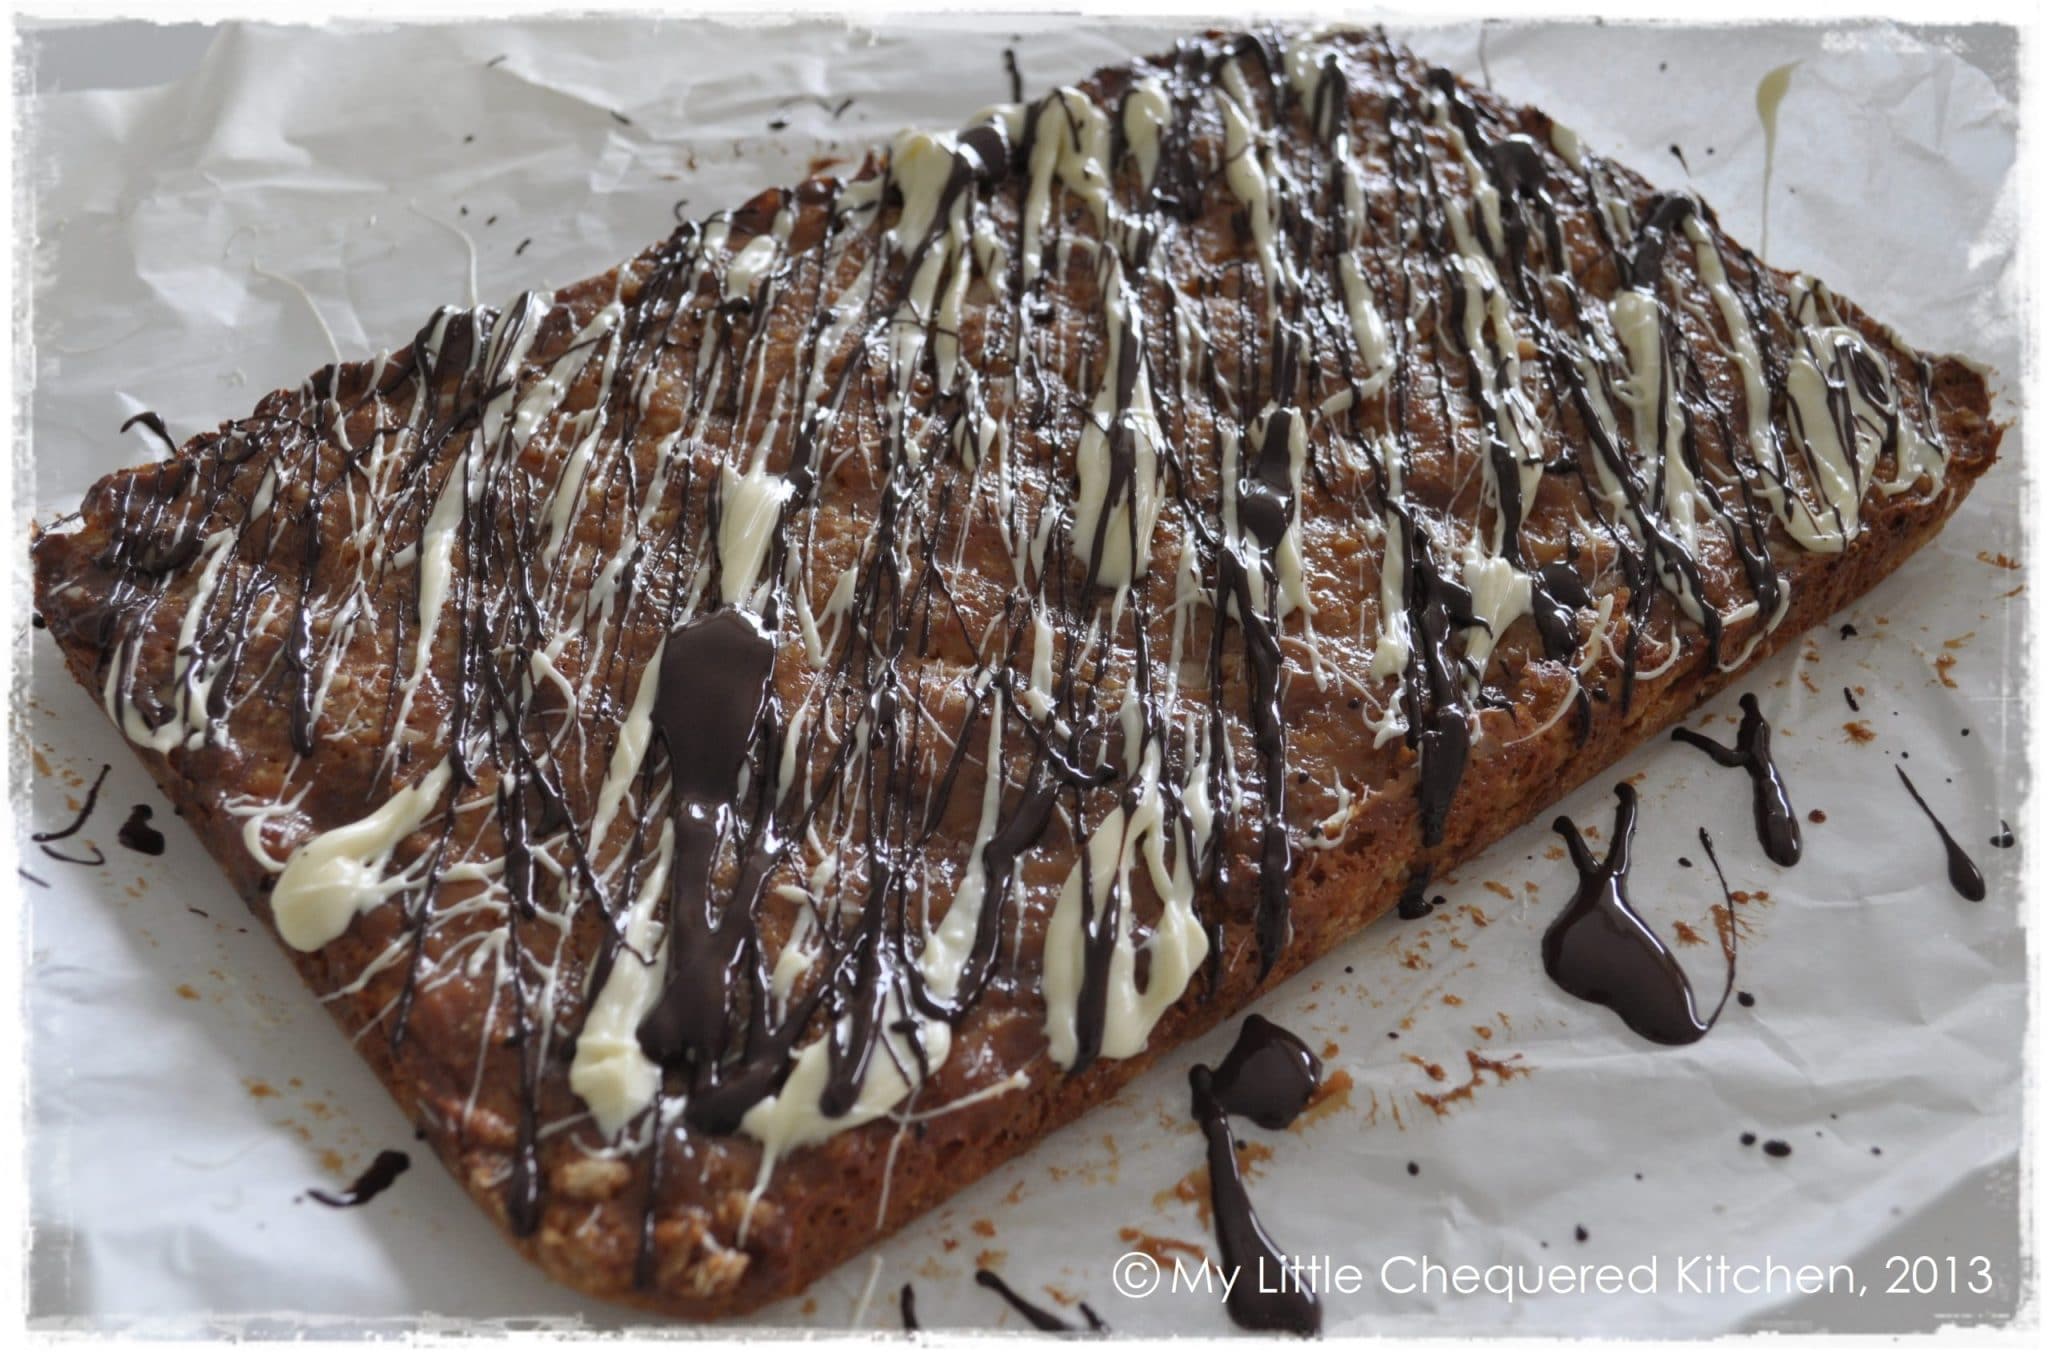
- Once the slice is cool enough (you could put it in the fridge and let it cool completely overnight), melt the white and dark chocolate and use a spoon to drizzle the chocolate on top of the slice. You can use your own artistic creativity here, but I like to drizzle it diagonally across the slice in the same direction. But don’t get too caught up in being perfect with this. It’s actually far more delicious if you allow the chocolate to fall off the spoon in large clumps! The more chocolate the better I say.
- Pop the slice back into the fridge to allow the chocolate to set before cutting into slices and serving.

