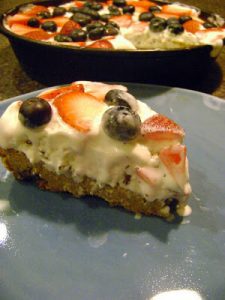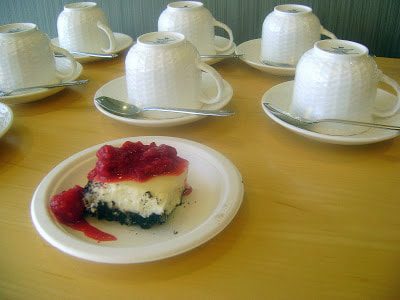
I doubled the original recipe to make two cheesecakes, and rather than make them in springform pans, I made them in 9×9 baking pans with tin foil (to easily move them, etc). I felt like since this was being served and more “take and go” than a traditional cheesecake it would be better. I also served a really easy raspberry sauce next to it. To be honest, the raspberry sauce really made the cheesecake for me.
No-Bake White Chocolate Cheesecake (adapted from here)
Serves: 24 (2-9×9 baking pans)
4 cups crushed Oreo crumbs (about 1 full package of Oreos)
16 ounces white chocolate chips
32 ounces (4 packages) cream cheese
28 ounces (2 cans) sweetened condensed milk
1/2 ounce unflavored powdered gelatin (2 packages)
1 1/3 cups water
1 1/2 cups heavy whipping cream
18 ounces raspberries
1/2 cup sugar
3 tablespoons cornstarch
Line the 9×9 baking pans with tinfoil. Make sure the tinfoil hangs off the sides (this will help you transport it later). Press the Oreo crumbs into the bottom of the tinfoil. Set aside. Melt the white chocolate chips in the microwave, stirring every 30 seconds, for about 2 1/2 minutes on half-power (Power 5). Then, beat in the cream cheese, until there are no lumps. Add the sweetened condensed milk and beat until fully mixed and smooth. Then, mix the gelatin into the water in a medium saucepan and let stand about 1 minute. Heat the gelatin gently until dissolved. Then, mix it carefully into the cream cheese mixture until it is fully combined. Fold in the whipping cream. Then, pour half of the mixture over one pan of Oreo crumbs; pour the remaining into the second pan. Let chill in the refrigerator (optimally overnight). Before serving, combine raspberries, sugar, and cornstarch into a large bowl. Mix and then let stand about 5 minutes. Top cheesecake with raspberry sauce.
You can make the raspberry sauce ahead of time, too, and then put it all together the day you want to serve it (like I did).
Also, I was shocked when I poured in the gelatin mixture–I didn’t think it was ever going to get fully combined; but, it did. It took a little bit of time (and manpower because by that time I was using a wooden spoon), but just be patient with it. Then, make sure once the gelatin is fully incorporated, you move quickly so it doesn’t set up before it can be poured!
Until the next time my oven is on…