It’s hard not to bake some cookies when all my blogger friends have been churning out so many exquisite ones for Christmas. If I got a penny for every pretty cookie I saw, I would have raked in a tidy sum by now.
So, go with the flow I did – “I shall bake some myself too!” But what? There were choices galore, and the more I looked, the more confused I got. One thing was certain – I didn’t want to bake cookies that looked pretty but wouldn’t enjoy eating. Like Gingerbread. Or Linzer. Or Sugar Cookies. I don’t dislike them, but I’m not crazy about them either.
I only like 2 types of cookies – Crunchy or Melt-in-your-mouth. Nothing chewy. Ideally it should be chocolaty or citrusy. Depending on the type of cookie, some addition of nuts like almonds or macademias would be nice, but not pecans or walnuts. I know … if I had to classify my relationship with cookies, it would read: “It’s Complicated.”
And then by chance, I saw these Lime Meltaways atthe parsley thief. Lime Meltaways! It was love at first sight and I knew instantly, that would be the one. I love anything melty, buttery and citrusy.
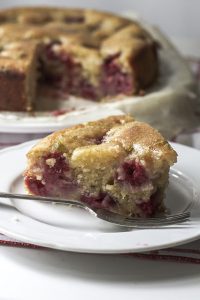
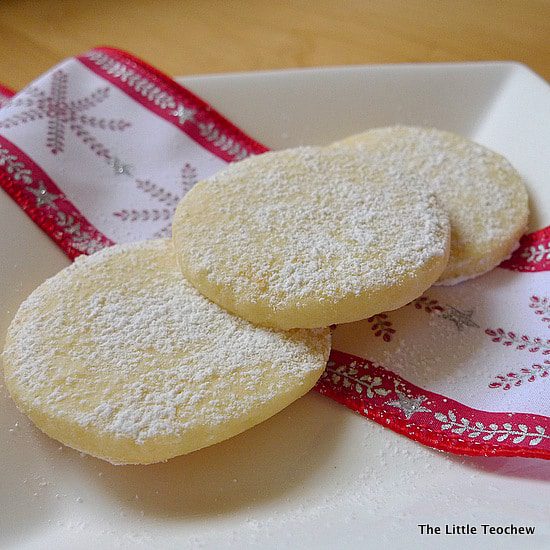
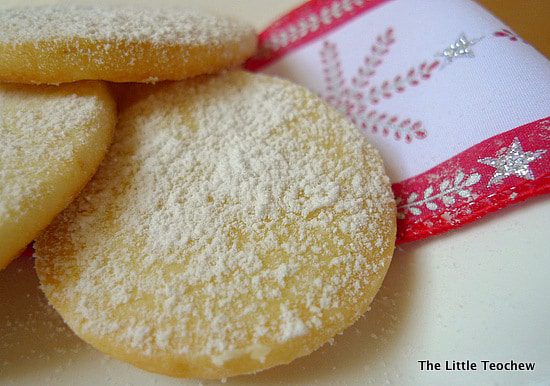
I cut them thicker than the recipe called for, and my cookies had a slightly crisp underside and a delicate golden top that crumbled at the gentlest nibble. Don’t they look twee?
I discovered it was adapted from Martha Stewart, and off I went to herwebsite for the original recipe. So there, I have my Christmas cookies! 🙂 It was my first time making these and it certainly won’t be my last.
Wishing everyone who’s reading, “Merry Christmas and a Happy New Year!”
Very fast to prepare – not impossible to get the dough done in 15mins, if you’re fast.
Recipe
(from Martha Stewart)
– 12 tablespoons (1 1/2 sticks) unsalted butter, room temperature
– 1 cup confectioners’ sugar
– Grated zest of 2 limes
– 2 tablespoons freshly squeezed lime juice
– 1 tablespoon pure vanilla extract
– 1 3/4 cups plus 2 tablespoons all-purpose flour
– 2 tablespoons cornstarch
– 1/4 teaspoon salt
The dough for these icebox cookies keep for about 2 months when frozen. Perfect when you have to produce something more sophisticated than regular chocolate chip cookies or indeed, for moments when you just need instant gratification.
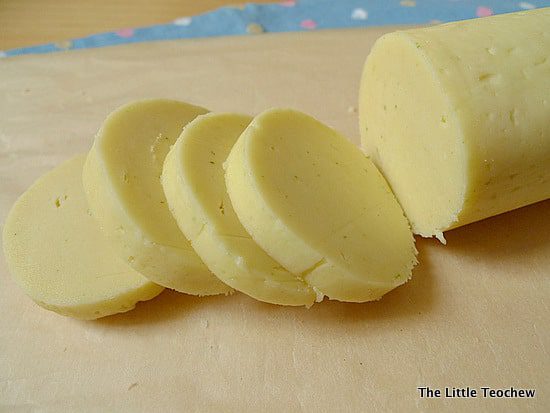
Just take the chilled, hardened dough out of the fridge and slice into your desired thickness. And bake!
1. In the bowl of an electric mixer fitted with the whisk attachment, cream butter and 1/3 cup sugar until fluffy. Add lime zest, juice, and vanilla; beat until fluffy.
2. In a medium bowl, whisk together flour, cornstarch, and salt. Add to butter mixture, and beat on low speed until combined.
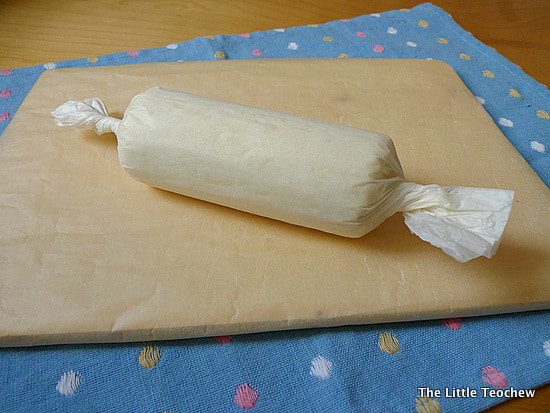
3. Between two 8-by-12-inch pieces of parchment paper, roll dough into two 1 1/4-inch-diameter (~3cm) logs. Chill at least 1 hour.
4. Heat oven to 350 degrees F (~190 degree celsius). Line two baking sheets with parchment. Place remaining 2/3 cup sugar in a resealable plastic bag. Remove parchment from logs; slice dough into 1/8-inch-thick (~3mm) rounds. Place rounds on baking sheets, spaced 1 inch apart.
5. Bake cookies until barely golden, about 15 minutes. Transfer cookies to a wire rack to cool slightly, 8 to 10 minutes. While still warm, place cookies in the sugar-filled bag; toss to coat. Bake or freeze remaining dough. Store baked cookies in an airtight container for up to 2 weeks.
Notes from The Little Teochew:
– I rolled them into a log size of about 4cm in diameter (as opposed to 3cm as stated in the recipe).
– I felt the ideal thickness (for me) was about 8mm thick (as opposed to 3mm thick as stated in the recipe). Had I cut them into 3mm slices, they would have burnt to a blackened crisp in the 15 mins of bake time!
– I baked at 160 degree celsius for 15mins (instead of 190 degree celsius, as stated in the recipe).
– I did not place the cookies into a bag of icing sugar. I dusted the sugar over them, after they had cooled on the rack. These cookies are too fragile to be tossed in a bag! Handle with care!
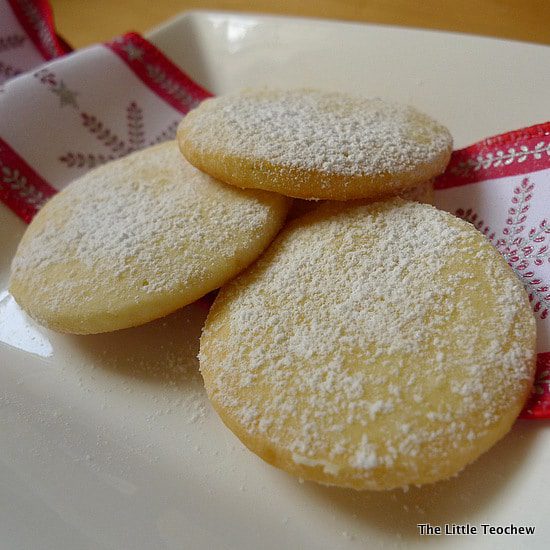
Bake till they turn into a pale, delicate shade of gold. Leave them to cool for a while, and then give a generous dusting of icing sugar. Let it snow, let it snow, let it snow!