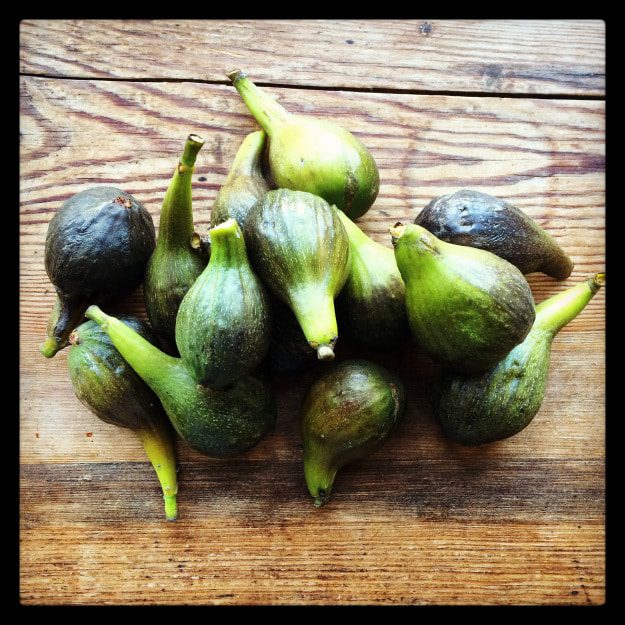
A good way to use up my glut of figs is by making a big batch of jam.
When I make jam, I like to use the least amount of sugar that I can get away with, which does mean that mu jam is quite runny and needs to be kept in the fridge once opened. Quite a good tip I’ve learnt is that by adding a good amout of lemon juice, it helps to thicken and set the jam meaning less sugar is needed.
With this jam, the addition of the earl grey tea, helps give it a of light, fragrant quality. I like to use Pukka Tea Earl Grey as it has a very perfumed taste and also contains lavender to help with the fragrancy.
Delicious eaten on buttered toast or with a good, soft goat cheese.
You need:
1.2 kg ripe English figs
440g golden caster sugar
3 earl grey tea bags
120ml cold water
Juice of 2 lemons
This makes 3 medium sized jars.
Rinse the figs under cold water to clean them, then remove the stalks. Half each fig then slice each half into three. You may prefer to make your slices thinner.
Put the fig slices in a heavy-based pan along with the tea bags. Pour over 120ml of water and gently cook over a low heat for a 15 minutes to soften the figs and allow the tea bags to dis-fuse.
When you are happy with how the fruit looks, add the sugar and the lemon juice.
Bring the pan to a fairly rapid boil and boil steadily for about 5-8 minutes. Stir often to stop the jam from sticking to the base of the pan. Boil until you have reached setting point. How I see if the jam is set is to take a cold, small plate and pour a teaspoon of the jam onto it. I then run my finger through the middle and if a clean line stays through the jam it is ready.
Poor the jam into ready, sterilised jars and allow to cool then seal.
You can store the unopened jars in your cupboard, but I recommend that once opened you keep the jam in the fridge.


