Last Friday was that time again.
Pi Day!
March 14, aka 3/14 aka 3.14!
Like last year, I needed something more easily sharable than the standard deep dish pie, and for awhile, I considered Pie Pops, but I didn’t manage to get to the craft store to pick up lollipop sticks.
So I ditched the stick and just went with tiny pies.
First, I needed to figure out what kind of pies. The obvious options were apple.. cherry.. blueberry… but there was one fruit I couldn’t stop thinking about.
Pears.
I really love pears.
And baked pears? Oh man, I have a real deep weakness for a baked pear.
So a few quick internet searches later, and I found the key to making a pear filling really special.
Caramel.
The beauty of a cooked pear is how the flavour of the pear is somehow simultaneously sweet in a really mellow way while still being really distinct and bright.
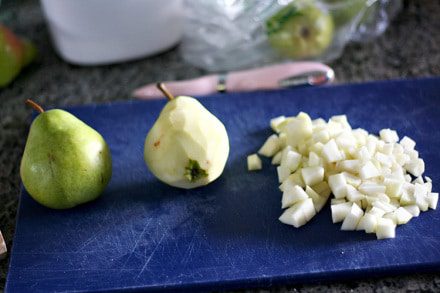
This is what makes it go so well with caramel. Its bright fruitiness comes through and compliments the rich flavour of the caramel.
And also when I put them together in a cooked filling, I couldn’t stop eating it with a spoon.
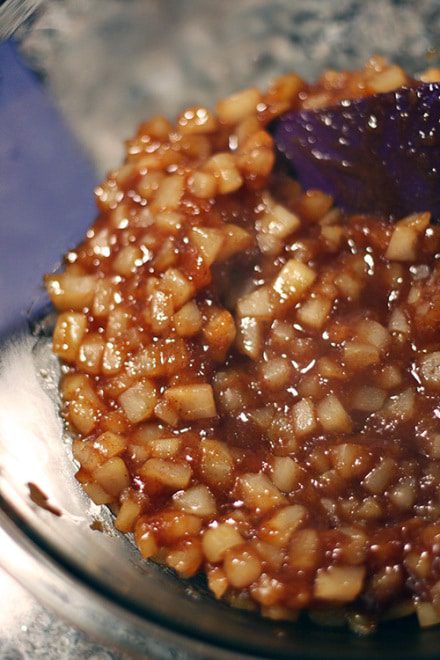
That’s how I really know it’s good.
But I could only eat so much, because I had to put it into pastry shells and call it pie.
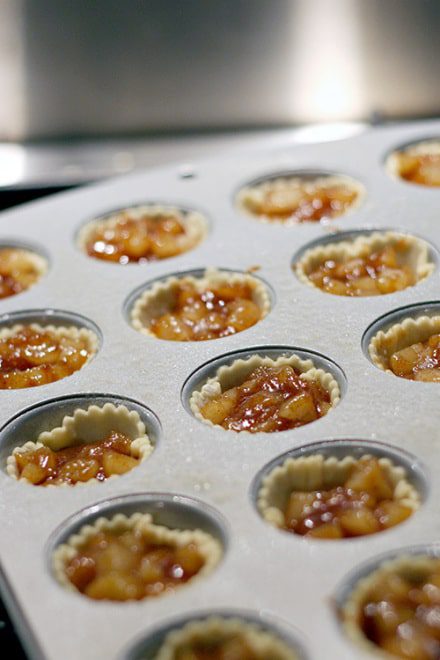
Oh, and top it with streusel. Because as I have mentioned in the past, everything I can top with streusel, I will top with streusel.
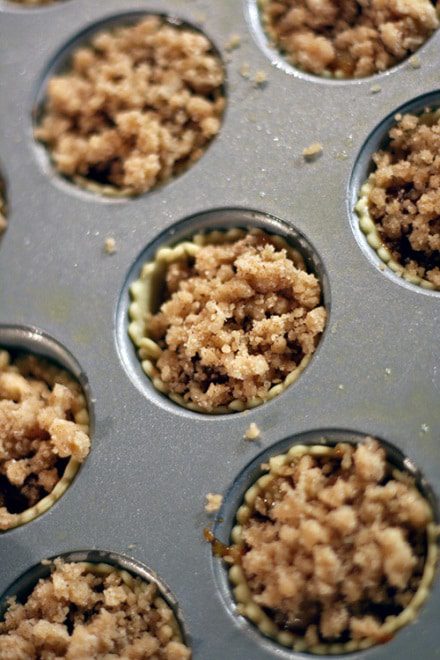
Trust me, it’s a good way to live life.
A sweet, crumbly, warm way to live life.
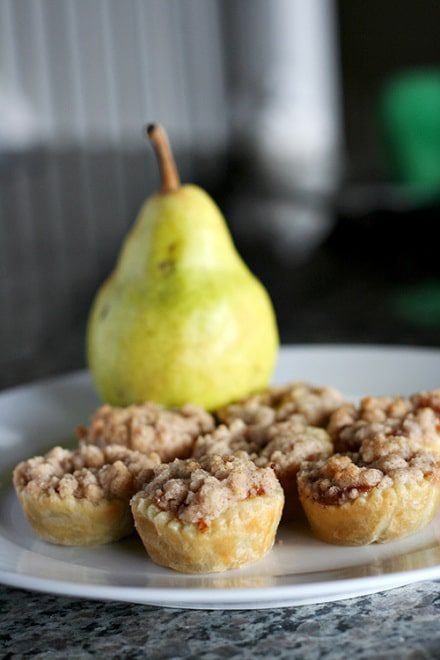
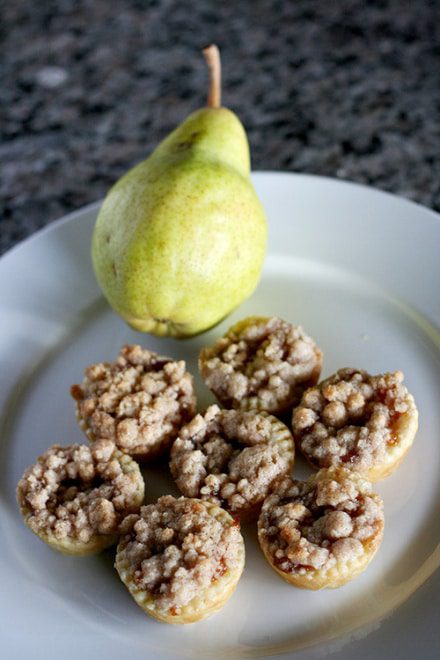
The final pie result is a lovely little one to two bite package of delicate sweetness.
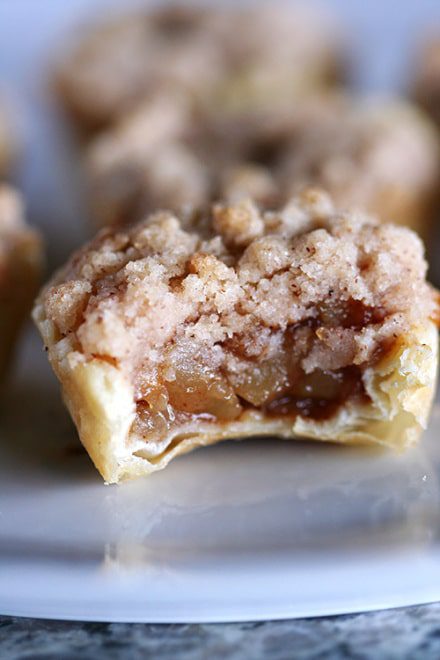
Happy Pi Day!
Caramel Pear Mini-Pies
Filling adapted from Kleinworth & Co
Caramel Pear Filling
- 7 small or 6 medium peeled- diced pears (I used barlett pears)
- 3 tbsp lemon juice
- 1 cup packed brown sugar
- 1 tbsp ground cinnamon
- 1 tsp ground nutmeg
- 3 tbsp cornstarch
Crust
- One 17.3 oz package of puff pastry, thawed (2 sheets) (You can also use pie dough of course, puff is what I had on hand and works great for these small applications.)
Streusel Topping
- 1/3 cup granulated sugar
- 3/4 all purpose flour
- 1 teaspoon ground cinnamon
- 1/2 cup (1 stick) unsalted butter, cold, cut into pieces
Directions
- Preheat oven to 400 degrees F. Spray a mini-muffin pan with oil spray, flour & oil spray is even better. Set aside.
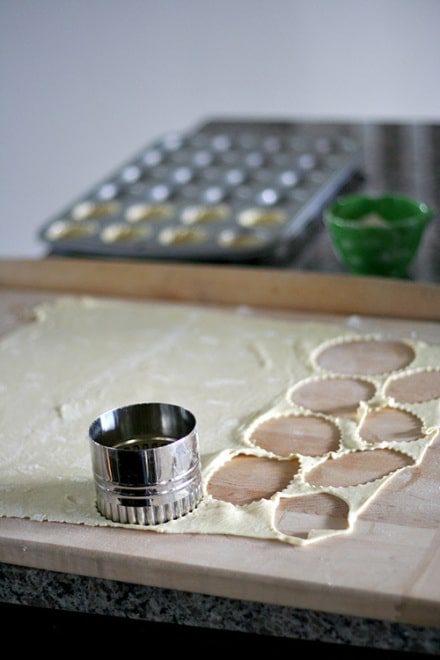
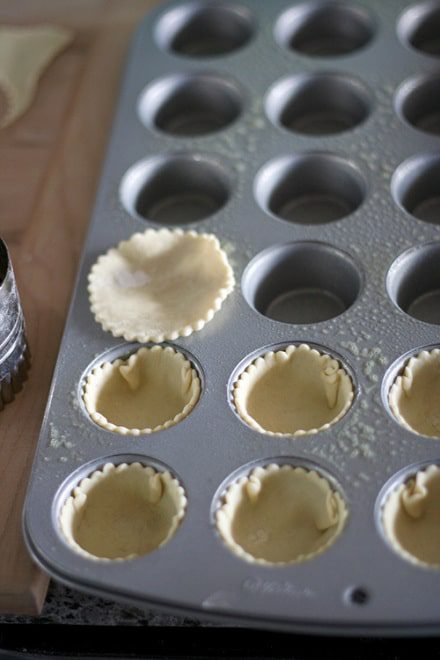
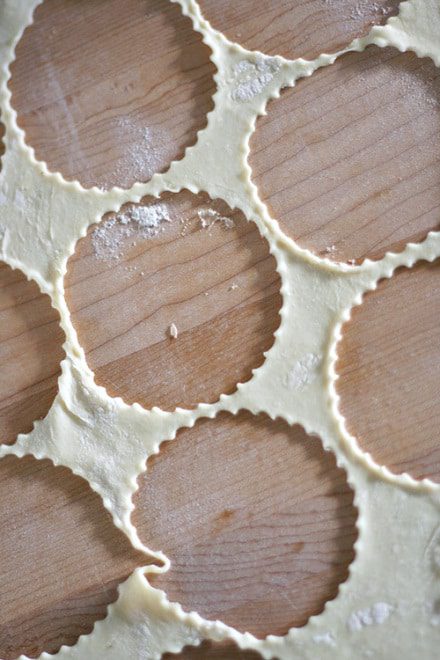
- Crust: Roll out puff according to directions. Using a 2.5-3 inch round cutter (a fluted one will add a little extra fun but is not required) cut as many pastry rounds as possible from your sheet, pushing each one into a cavity of the muffin tin. Re-roll the remaining dough and cut out more rounds until you have 48. Make sure you cut out the rounds as tightly together as possible as you want to re-roll the pastry as few times as possible. If you don’t have multiple muffin tins to hold 48 rounds, place extra rounds on a parchment lined cookie sheets with additional parchment between each layer of pastry. Refrigerate both the formed shells and the extra rounds.
- Topping: Mix all streusel ingredients together except the butter in a small bowl. Add pieces of butter to mixture and using your fingers, two knives or a pastry cutter, work the butter into the flour/sugar mixture until no butter pieces are larger than a pea, and the whole mixture looks crumbly. Put in refrigerator while making the filling.
- Filling: Dice pears into small cubes & toss with lemon juice in a large bowl. In separate bowl, combine brown sugar, cinnamon, nutmeg & cornstarch. Whisk to combine. Set aside.
- Transfer pears to large pot and heat over med-high heat until pears reach desired tenderness, stirring occasionally. (My pears were a stiffer, barlett pear and took 15 minutes to get tender, but depending on your pears, it could take as little as 8-10.)
- Add your dry mixture and mix to combine and incorporate well. Heat & stir constantly until mixture thickens – about 2 minutes.
- Move filling to a bowl and let cool 10 minutes, stirring occasionally to speed up cooling.
- Assembly: Spoon a small amount of filling into each prepared crust in the mini muffin tin. Top each pie with enough streusel to cover the filling.
- Bake pies in preheated oven for about 12 minutes, or until streusel and crust edges are golden.
- Cool pies in pan for 10 minutes, then complete cooling on a wire rack (or eat warm!). Repeat assembly process with remaining puff rounds.
- EAT PI!
Makes approx. 4 dozen mini-pies. Store pies in an airtight container at room temperature or refrigerate if keeping for a week. Pies are best the first day or two.




![Peanut Butter Waffles [Gluten + Grain Free]](https://www.cookinggoals.com/wp-content/uploads/2020/02/photo131-300x300.jpg)
