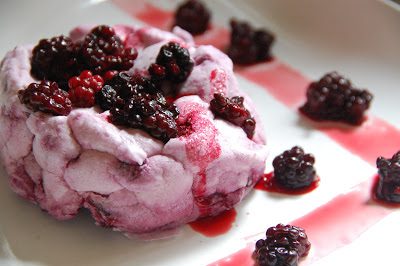
A pavlova is basically a meringue base cake that has a light, airy
texture but a slightly crisp, delectable outside shell. It is often
filled with fruit or whipped cream after baking, and man-oh-man is it TO
DIE FOR. The inside is sweet and fluffy, while the outside has the
perfect amount of crunch. While it can be topped with anything, I chose to use some fresh blackberries to give it a little bit of depth and tartness (plus it looks beautiful!)
Here is the recipe:
Blackberry Pavlova
Ingredients:
- parchment paper
- 3 large egg whites, at room temperature
- 1/2tsp vanilla exract
- 3/4tsp cream of tartar
- 2/3c. splenda
- 1tsp cornstarch
- 1/3c. blackberries, smashed up and drained of excess juice
Instructions:
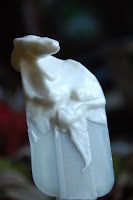
- Preheat the oven to 250 degrees Fahrenheit. Line a sheet pan with parchment paper.
- In a large, clean bowl, whip egg whites, vanilla, and cream of
tartar on low speed with an electric mixer until slightly foamy. Slowly
increase speed and begin adding the splenda and cornstarch a little bit
at a time. Continue adding splenda/cornstarch until it is all in, then
increase the speed to high and whip until the egg whites form stiff
peaks and are a glossy white. If you can turn the bowl upside-down
without anything falling out, you are doing good! - Gently fold in the blackberries.
- Divide the mixture into 3 lumps/circles on the parchment paper,
leaving room between each meringue “cake” (either by scooping it gently
out, or by putting it into a pastry bag and piping it in circles like
you would frosting). Smooth down the sides gently with a spatula.

- Cook for 55 minutes, and don’t open the oven during the cooking
time. Please, I know it’s hard. But you don’t want to do it because it
will do strange, strange things. - After cooking, let the pavlovas cool in the oven (which you should
turn off, and leave the oven door open slightly) for 1 hour. When they
are done, there should be a crisp outside but a fluffy, dreamy inside.

