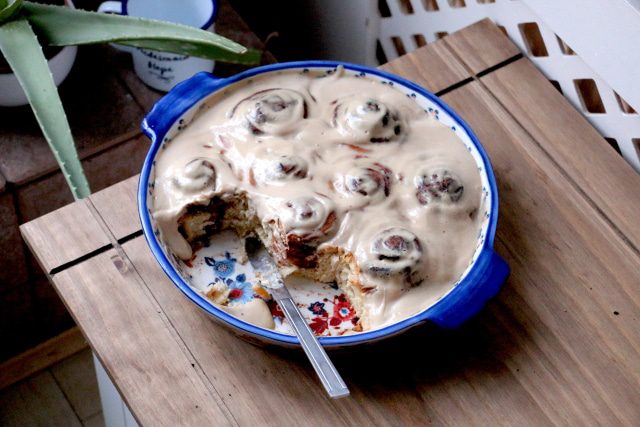
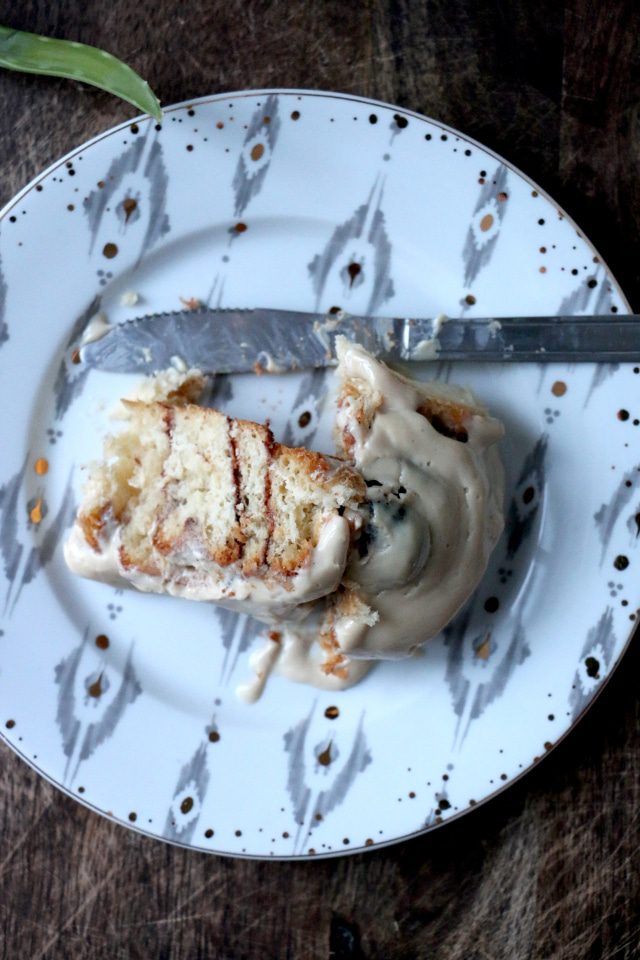
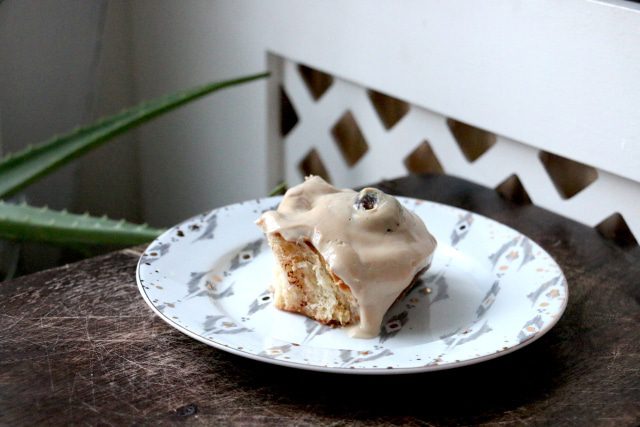
I know what you’re thinking right now, because I’m thinking it too. I went way overboard with that glaze. Theres enough glaze there for three times the amount of Cinnamon Rolls I’ve baked.
I read on the internet somewhere that smothering your cinnamon buns in glorious glossy glaze while still hot from the oven, made them irresistibly moist as it settled into the cracks. I obviously took this literally and smothered until my heart was content. Trust me, I’m definitely content.
I have to admit though, that glaze really makes these rolls enticing. Just look at that shine! Its captivating buttery smell and glistening top lures you into the kitchen like a kid looking for the leftover cake batter spoon.
Sometimes when I bake something, I have no idea what its going to turn out like. Other times I know its going to be a disaster from the outset. And on the rare occasion everything goes so perfectly, I know whats going to emerge from my oven is going to be great. Just the smell of these as they were baking away in my kitchen made a smile play on my lips.
One thing that made these so perfect was that I made them solely for me. I didn’t spend days thinking of what I could bake for the blog to make it more diverse, interesting or unique. I had a craving for cinnamon buns and I made them. Just the way I like them. Just for me. Rustic, simple and humble. No fancy presentation, just the cinnamon bun. So ordinary but so charming too.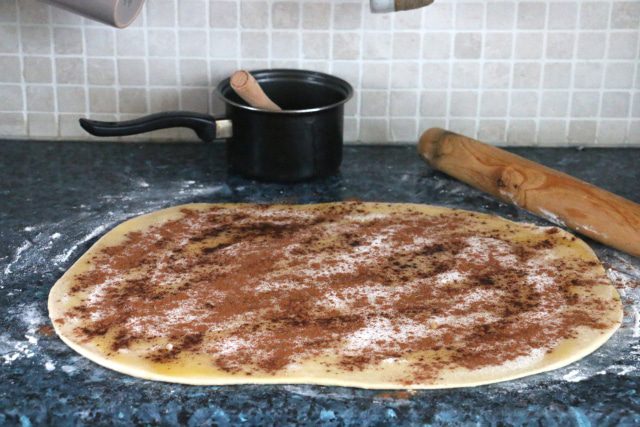

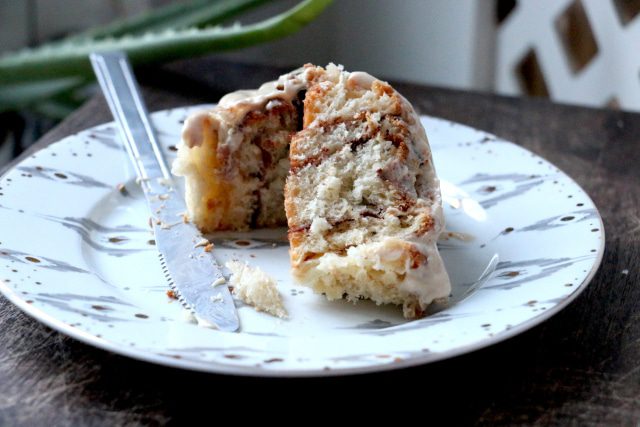
Ingredients – Makes approx. 10 Cinnamon Rolls
Cinnamon Roll Dough
- 90g – unsalted butter, melted
- 200ml – whole milk
- 450g – plain flour
- 40g – caster sugar
- 2 tsp. dried yeast
- 2 good pinches of sea salt
- 1 egg
Cinnamon Sugar Filling
- 50g – unsalted butter, melted
- 50g caster sugar, roughly*
- 8g ground cinnamon, roughly*
Coffee Cream Cheese Glaze
- 250g – cream cheese
- 50g – icing sugar
- 1 tsp. very finely ground coffee
*this is a very rough guide. No need to actually weigh this out, just sprinkle them on.
Method
Cinnamon Roll Dough:
- Begin by melting your butter in a small saucepan. Once melted, add in the cold milk off the heat. In a large mixing bowl, place the flour, sugar and salt. Mix well and then add the dried yeast. Mix again and make a well in the centre. Pour in the cooled butter/milk mixture and add in the egg. Mix well until a dough forms.
- Tip your dough out onto a lightly floured work surface and knead for 5-10 minutes until the dough is smooth and elastic. The dough should spring back when poked with your finger. Place into a lightly oiled bowl. Cover the bowl with cling film and place into a warm spot to prove for 1 hour, or until doubled in size. Butter your preferred baking dish ready for later.
- Once proved, tip your dough out onto a lightly floured surface again. Roll out the dough into a large rectangle.
- Take your melted butter for the filling and pour over the surface of your dough. Brush the butter evenly, using a pastry brush. Sprinkle over the caster sugar, followed by a good helping of cinnamon over the top of that.
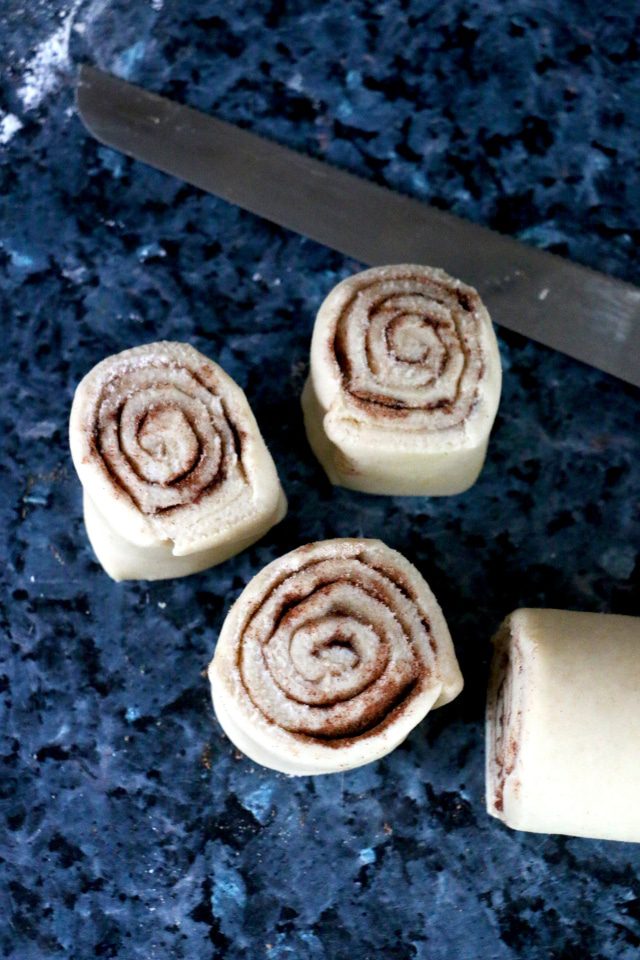
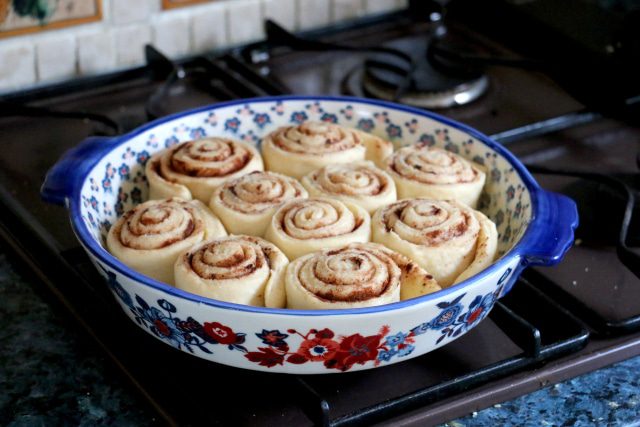
- Starting at one end, tightly roll up the dough into a long spiralled log. Using a serrated knife, cut the log into approx. 10 portions (can be more, can be less) and arrange in your baking dish leaving a cm between each bun.
- Cover with cling film and leave to rise for an hour, or until doubled in size (I ended up leaving mine for about 2 hours as my house was very cold!)
To bake and Finish:
- When your cinnamon rolls are nearly ready for their oven debut, pre-heat it to 170°C. Bake for 35-40 minutes, or until golden brown.
- While your buns are baking, you can prepare the glaze.
- Whisk all the glaze ingredients together until smooth. Taste it and see if you’d like to add more coffee or sugar (I like to keep mine quite tangy.)
- While the rolls are still warm from the oven, smother over the glaze so that it can settle into the cracks and moisten those babies!
- Leave to cool and serve to your inevitably salivating friends and family.

![Maca Pumpkin Mochaccino [Vegan]](https://www.cookinggoals.com/wp-content/uploads/2020/01/IMG_6209-300x300.jpg)
