Happy St. Patrick’s day everyone! I thought I’d celebrate by sharing this wonderful Irish Brown Bread with you all.
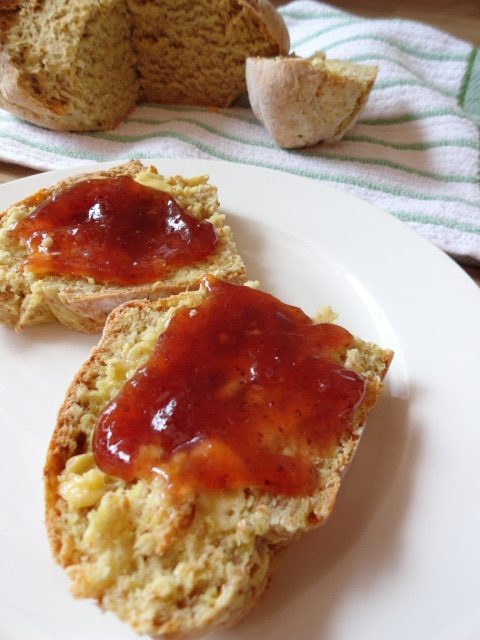
Is there anything better then bread and butter? I don’t think there is. I want to improve my bread baking skills (especially yeast bread), and I think this bread is an excellent place to start. It wasso easy to make, and the outcome was amazing. It had a wonderful grainy flavor, due to the addition of both wheat germ and wheat bran, and was oh so chewy. I ate it by itself, with butter, with jam, and last night, I even made a grilled cheese sandwich with it!
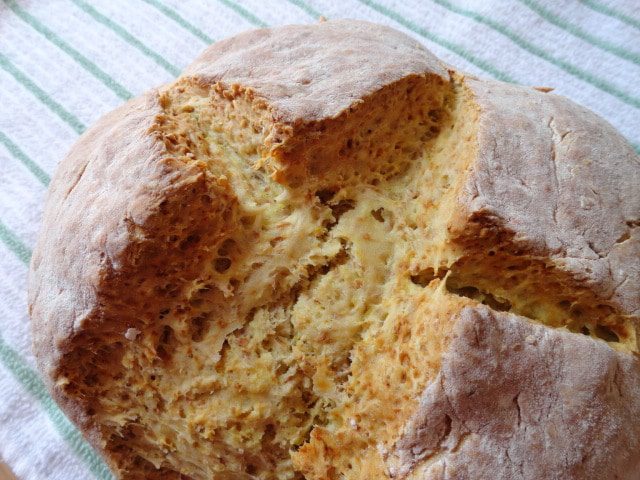
The hardest part about this bread? The waiting. You have to let it sit for one full hour after baking. I know, how can I actually be serious? I always eat baked goods fresh from the oven, and usually burn my mouth (the same goes for any hot beverage, or food that is supposed to be hot). Apparently, I will never learn. It was very difficult for me to wait an hour, but at exactly 60 minutes after it was pulled from the oven, I understood why the wait was necessary. The inside is pretty moist and dense, and if you try it right away, I don’t think it would be completely set in the middle. This was a complaint from a few people who commented on the original post. Another thing, is that in the picture you will see that it is covered in flour, but this is not necessary. I was just playing around aesthetics.
Again, Happy St. Patrick’s day! Don’t forget to wear your green, or you may get pinched!
Irish Brown Bread
Adapted fromDavid Lebovitz
Ingredients
Yields two medium loaves, or one large. I halved the recipe for one regular sized loaf.
2 1/4 cups whole wheat flour
2 3/4 cups wheat bran or wheat germ, or a combination (which is what I did)
4 cups all purpose flour
1 1/2 teaspoons baking soda
1 teaspoon salt
2 ounces cold butter, salted or unsalted
2 1/2 cups buttermilk*
2 teaspoons molasses (I didn’t have molasses, so I used honey)
Directions
Put the rack in the middle of the oven, and preheat to 350ºF. Line a sturdy baking sheet with parchment paper or a silpat, and put it on the oven rack.
In a large bowl, whisk together the dry ingredients.
Cut the butter into little bits and rub them into pieces in the flour mixture using your fingers, until as fine as possible. Stir in the buttermilk and molasses until the dough is uniformly damp. Turn out onto a lightly floured surface, and gently knead until the dough forms a smooth ball (remember this recipe makes two loaves so if you’re making the full recipe, divide equally and knead each ball separately).
Using a sharp serrated knife, cut a cross over the top of the bread about 1 inch deep. Place the loaf or loaves on the hot baking sheet, being mindful that the baking sheet is hot!
If you’re making one large loaf, bake for 45 minutes. If you’re baking two smaller ones, start checking for doneness after 25 minutes (mine was done at 35 minutes). The bread is done when the top feels firm on top and hollow when you tap the bottom.
Remove from oven and cool on a wire rack forone hour (this is important, see notes above).
*If you can’t find buttermilk, you can make sour milk by adding 1 tablespoon white vinegar to every 1 cup of milk.