One final point before we get onto the recipe: I cheat. I’m lazy. I love the creativity of making the bread but I seldom feel like the 15 minute long workout, nor shelling out £1 a bag extra for the strong bread flour. So I use ordinary plain flour (it works a treat), and I knead for about 5 minutes tops*. The texture may not be as light and fluffy as a bread machine would give you (and which I rather dislike), but I never find it to be stodgy or dense. It has a lovely chewiness to it and the solidity of real homemade bread. Without so much fuss.
*but if you want to use extra strong flour and go the whole hog with the kneading, I won’t stop you …
This recipe was requested by a recent consumer. I hope you enjoy making it It makes 2 loaves.
Ingredients
450g plain white flour
550g plain wholemeal flour
2 slightly heaped teaspoons of table salt
2 slightly heaped teaspoons of instant fast action yeast
125ml olive oil
About 1.3 litres of slightly warm water
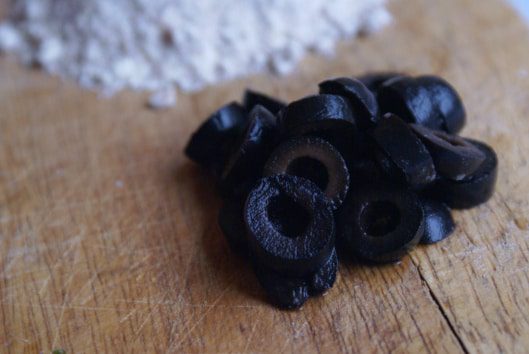
170g black olives, sliced
Optional: 2-3 tbsps of finely chopped herbs such as rosemary and chives
In a large mixing bowl, combine the flours, salt and yeast. Be careful not to leave the yeast sitting in the salt as this will kill it.
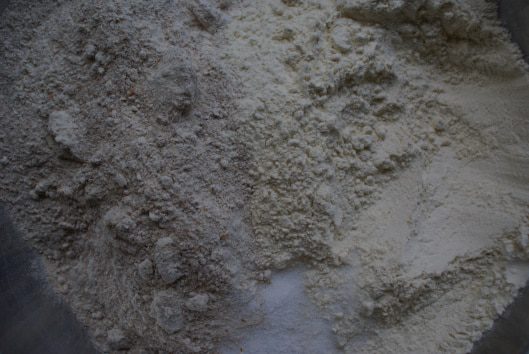
Pour in the oil and most of the water and with one hand on the bowl use the other hand to work the liquid into the flour mixture. Bring it together, adding a little more water if necessary, until you have a slightly sticky and not too stiff dough.
Tip the mixture out onto the work surface and knead it for about 5 minutes. Do this by knocking it backwards and forwards, stretching it out with the heel of your hand, folding it over itself and turning it before folding again, etc. You can’t really go wrong, just so long as you’re firm and you’re working the dough! Sprinkle in a little more flour if it’s really sticky, but this isn’t necessary if the dough is only sticking a bit. When dealing with a wholemeal dough it can become very stiff without enough water, so better to be slightly too wet than too dry.
When you’ve exhausted your kneading capacity, sprinkle a reasonable amount of flour on the work surface and work the dough into a ball, pulling the edges up and into the centre of the dough, turning and pulling and so on. Turn the dough over and tuck the edges in under the base with your palms until it’s smooth and rounded. Lightly flour your bowl and put the dough back in. Cover with a tea towel and leave to rise until doubled in size.
*Note: Our house is COLD. If yours is too, don’t worry. A longer, slower rise is actually better for the dough. If your house is hot, find the coolest place you can (but not chilled) and leave the dough there. It could take anywhere between 1 hour and 3 hours to rise fully. Be patient!*
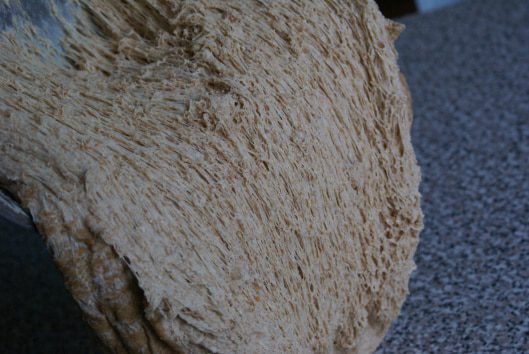
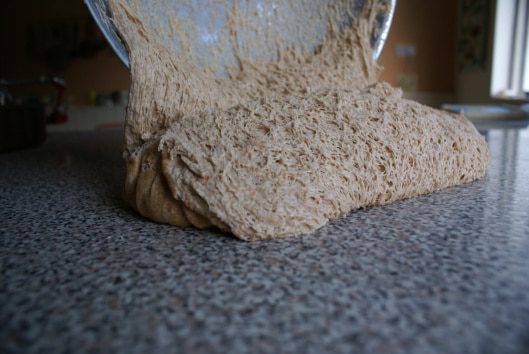
Once risen, tip the dough back out onto the work surface and admire all those air bubbles. Thanks to you those little yeasties are bubbling away ![]()
Prod the dough out slightly with your fingertips and add the olives. Add chopped fresh herbs if using.
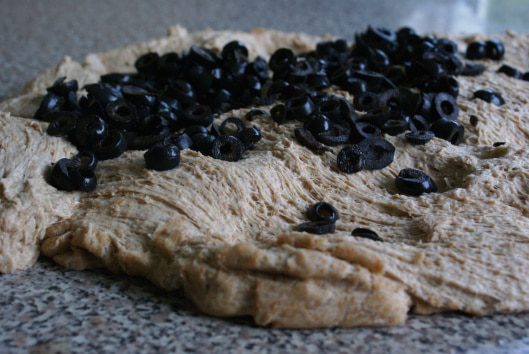
Fold the dough over the olives and knead just enough to distribute the olives (and herbs) evenly. The dough doesn’t require a long working here.
Divide the mix in half and shape your dough as you did before to form a ball, pulling the edges into the centre then turning the ball over and tucking the edges down and under the base, turning and tucking, until a neat smooth ball is obtained.
Take a large baking sheet and 2 x 7-inch, loose based cake tins. Grease these and place your dough ball inside one of the cake tins on the baking sheet. The dough ball should be smaller than the tin, leaving a slight border. Repeat with the other lump of dough. Alternatively you could shape them into logs and just plonk them into 2 greased loaf tins.
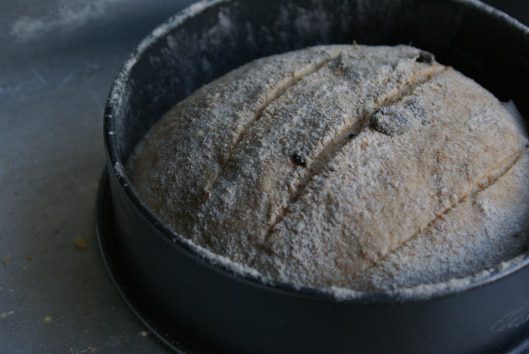
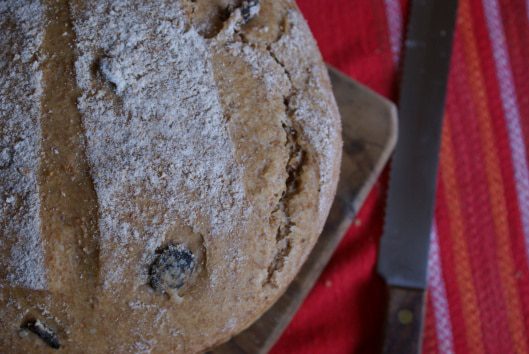
Dust all over the dough and the sides of the tin with wholemeal flour, then slash the dough three times with a sharp knife (make sure it IS sharp, so as to cut and not tear the dough). Cover with a tea towel and leave to rise again, until nearly doubled in size.
When your dough is just about ready, preheat the oven to 190 C degrees fan (210 C degrees conventional oven). When hot, place your bread on to the middle shelf and bake for about 15 minutes (make sure there’s room above the dough for it to rise further). Turn the temperature down to 170 C degrees fan (200 C degrees conventional oven) for another 10 minutes. Finally, remove the bread from the tins and place on the oven shelf for a final 5 minutes to crisp underneath.
Remove and tap the base to check for a slightly hollow sound. The bread should be firm and not feel doughy at all (if it does, return to the oven for another 5 minutes). Leave to cool on a wire rack.
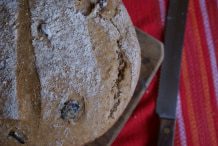
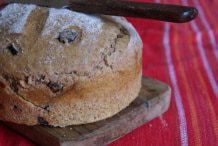
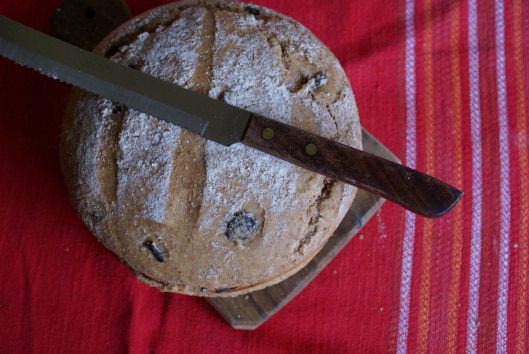
If you can’t resist eating it warm I don’t blame you, but cutting hot bread can result in a doughy texture. Ideally it would be almost or completely cold before slicing.
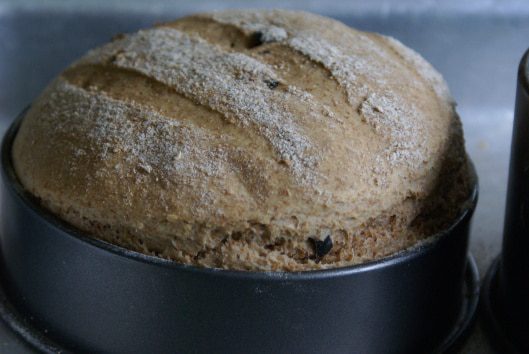
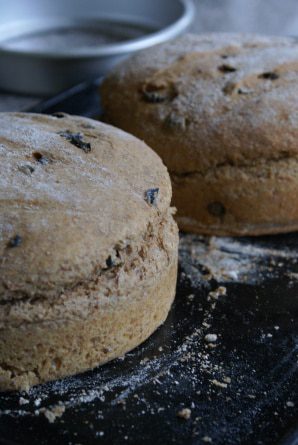
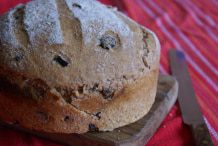
Once you’ve mastered this, try adding other ingredients. Alternatively, stay tuned for more bread recipes to come … And let me know how you do!

