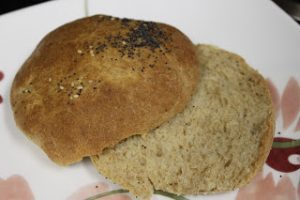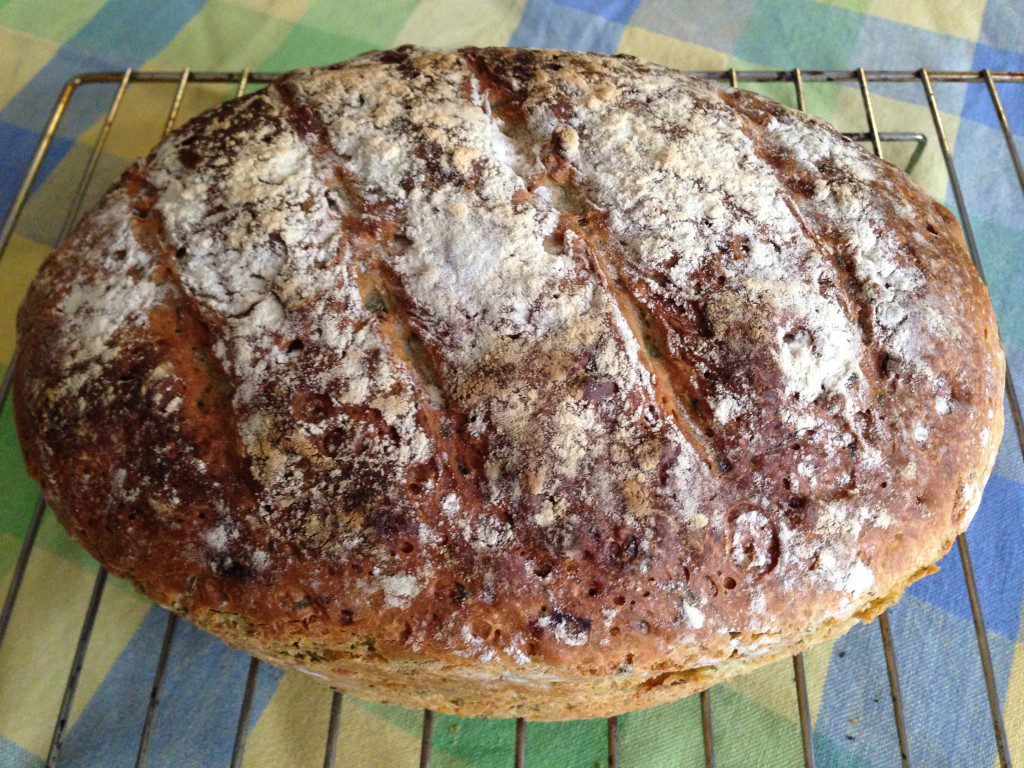
A summery rustic, enriched* bloomer* that is pure sensory overload! Flavored with spinach, caramelized onions, garlic, Parmesan cheese and freshly grated nutmeg. And for some welcome crunch in the crumb, there’s toasted pine nuts dispersed right through.
Ingredients:
1 T* (15 ml) vegetable oil (any light flavored oil is good – I use Sunflower oil)
1 medium onion chopped
115 g* fresh young spinach leaves (minus the stalks)
2 cloves garlic finely chopped
120 ml water
1 egg
450 g all purpose flour / maida ( try and get this from a local flour mill / chakki. I think the commercially available packs are bleached)
1/2 t* freshly grated nutmeg
50 g freshly grated Parmesan cheese ( if you’re thinking that sounds expensive – when was the last time you indulged in yourself?
1 1/2 t salt
1 t sugar
1 1/2 t instant yeast ( different from active dry yeast which will need 25% more quantity of yeast)
2 T roasted pine nuts
Method:
Heat the oil in a frying pan and add the chopped onion. When the onions have softened add the chopped garlic. Saute till the onions turn golden brown. I love the flavor of caramelized onions and am therefore a bit biased towards a darker shade of golden brown.  Add the spinach into the sauteed onions and stir well till the spinach leaves have wilted. Take off the fire, mix well and keep aside for the spinach onion mixture to cool.
Beat the egg and mix with water.
Mix together the flour, grated nutmeg, pine nuts, Parmesan cheese, salt, sugar and yeast. To the flour mix, add the onion spinach mixture (along with the left over oil – if any) and the egg water mixture. Use a wooden spoon to mix them together till all of the flour is wet. Knead till the dough is well mixed. Wet hands or oiled hands can help as this dough will be sticky and gloppy.
Here’s a video on dealing with sticky dough, that’s fun to watch – despite the fact that its in Italian. Isn’t it amazing how easy it is to ‘get’ something that we’re looking for, even when we don’t understand what people are saying?
Cover with loosely wrapped cling-film and let it rise to approximately twice the size. (60 to 90 minutes)
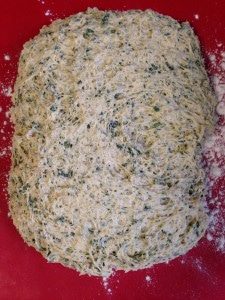
Using a spatula, transfer the dough onto a floured surface. The process of transferring the risen dough onto a floured surface will gently degas the dough so you don’t have to punch down the dough. This is what it should look like with well defined gluten strands.
Use Peter Reinhart’s stretch and fold technique to shape the dough. Here is a video that you’ll find helpful:
Line the baking sheet / tray with parchment paper. Shape the dough into a thick baton and place it seam side down on the parchment paper. Cover with oiled cling film loosely and let it rise in a warm place for about 30 minutes. Meanwhile, pre-heat the oven to 220C.
Just before you ease the dough into the oven, dust the surface of the dough liberally with flour and using a sharp knife, slash the top of the bloomer with parallel diagonal slashes. While slashing use a sharp blade. Slash quickly and let the blade do the cutting.
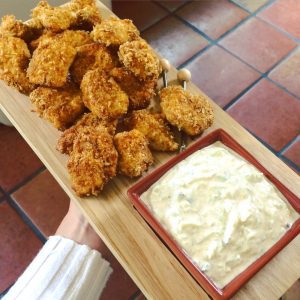
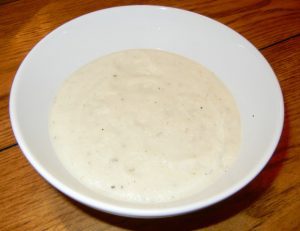
Bake for 30 -35 minutes or until golden and the bottom sounds hollow. Transfer onto a wire rack to cool and enjoy with some mildly flavored soup. And, do let me know how your bloomer bloomed.

Learning: I experimented with an oven pan instead of baking a free standing loaf. And at the end all I said Naaah!. Should have shaped it like a batard (that’s bastard in French – because it’s neither a baguette nor is it a boule) and a hand shaped batard would have led to more tension in the dough resulting in a real bloom when the slashes opened up. Also, the next time around, I think I’ll puree the spinach. That should result in a bloomer with a mildly green hue.
* T = Tbsp, t = tsp, g = gms, enriched = breads that have butter, eggs, sugar, and/or oil in the recipe. They are therefore softer and richer than non-enriched breads (also called lean breads) that have only flour, water, salt and yeast. Bloomer = a crusty loaf with rounded ends, and typically with several parallel diagonal slashes across its top