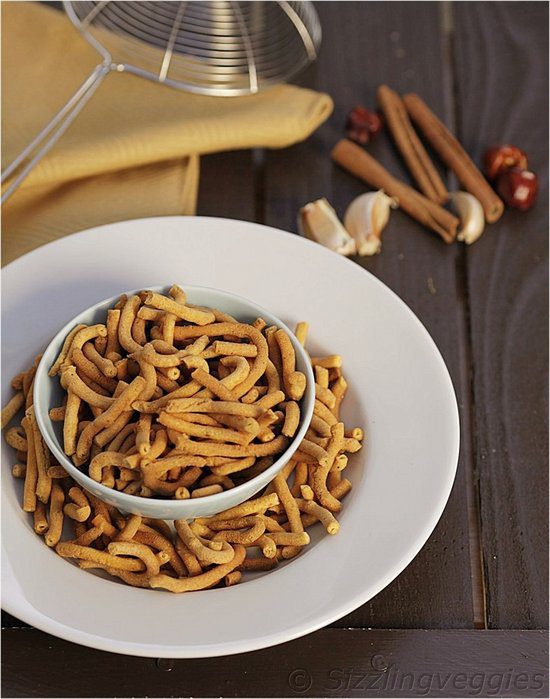
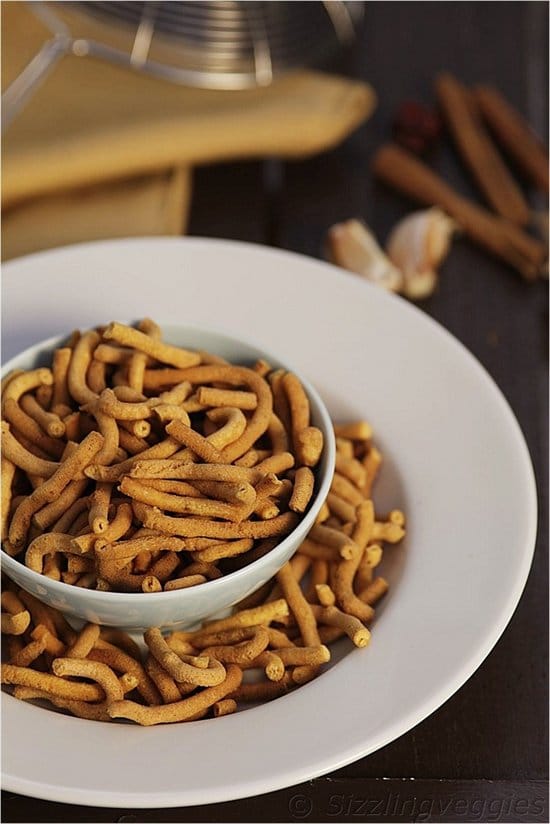
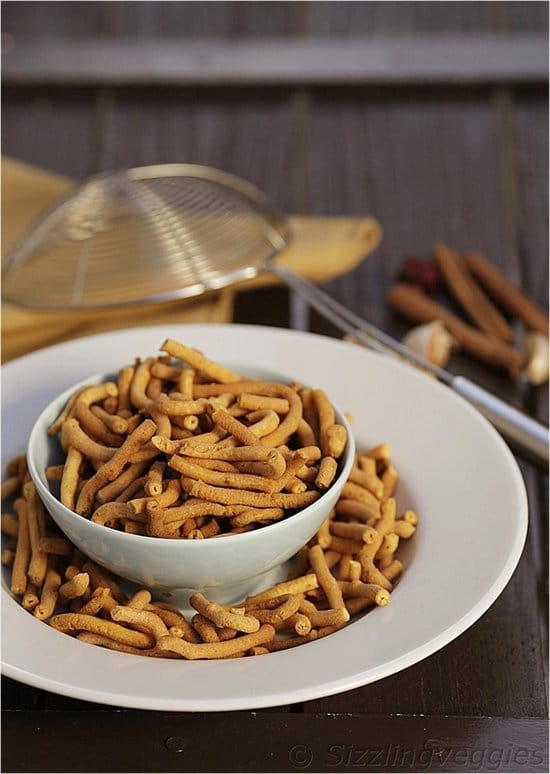
This snack can be well described as gram flour & rice flour mixed with concoction of Indian spices and deep fried to crisp with or without garlic. The taste is something that you need to experience as each bite of this snack has the crunch as well as the burning flavor of clove, sweet taste of cinnamon and anise, flavor and aroma of garlic, and spicy taste of red chilli powder. My kids care less for this snack as the spices tend to be quite intense for little children. But for my husband and me, we enjoy them at every given chance.
Step-by-Step Pictorial:
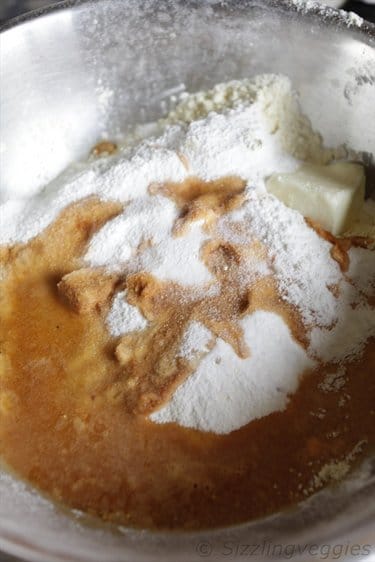
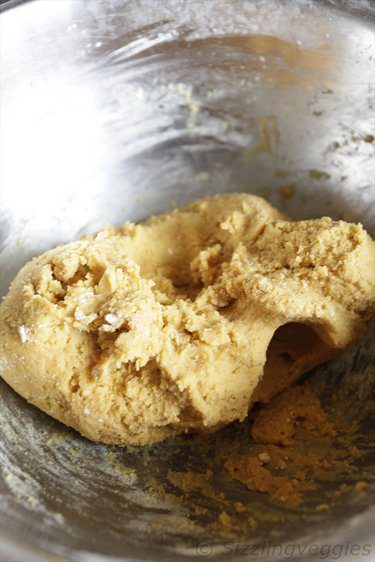
In a large bowl mix gram flour, rice flour, salt, butter, and ground spice paste. Use water as needed to make a firm dough resembling that of a chapatti dough.
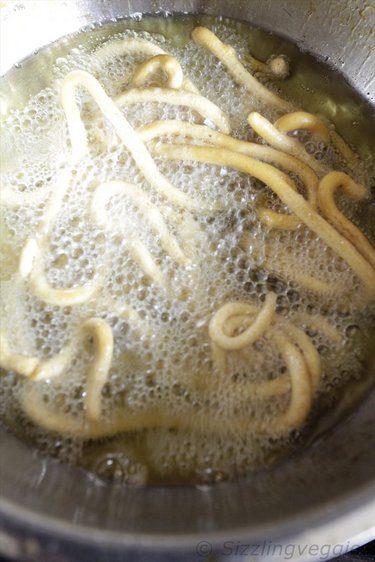
Heat oil for deep frying and check if its ready by dropping a small drop of the dough. If the dough sizzles up immediately without changing color then the oil is ready. Usually Kara sev is rubbed in a laddle that’s filled with holes(a separate laddle is available in the market for Kara sev) but I used the regular murukku press with the disc that has bigger holes. Add the dough to the murukku press and rotate the handle as you swirl into hot oil. Let the Kara sev fry for few minutes then carefully flip to the other side. Fry until the Kara sev turns golden brown and the bubbles in the oil subsides. Remove the Kara sev on a strainer. Break the Kara sev in to bite size bits. Serve with coffee/tea. Store remaining Kara sev in an airtight container. Enjoy!!!
Kara Sev
Ingredients
- Gram Flour (Bengal gram dal flour) — 2 cups
- Rice Flour — 1/2 cup
- Asafetida — 1/8th tsp
- Butter — 2 Tbsp
- Anise seeds — 1/2 tsp
- Poppy seeds — 1/2 tsp
- Cloves — 3
- Cardamom — 3
- Cinnamon Stick — 1 inch stick
- Chilli Powder — 2 tsp
- Garlic — 2 medium sized pods (peeled)
- Salt — to taste
- Oil — for deep frying
Instructions
- Grind anise seeds, poppy seeds, cloves, cardamom, cinnamon stick, chilli powder, garlic into a smooth paste. Use water as needed for grinding.
- In a large bowl mix gram flour, rice flour, asafetida, butter, salt, and ground paste. Use enough water and mix everything to a firm dough.
- Heat oil for deep frying and check if its ready by dropping a small drop of the dough. If the dough sizzles up immediately without changing color then the oil is ready.
- Usually Kara sev is rubbed in a ladle that’s filled with holes(a separate ladle is available in the market for Kara sev) but I used the regular murukku press with the disc that has bigger holes.
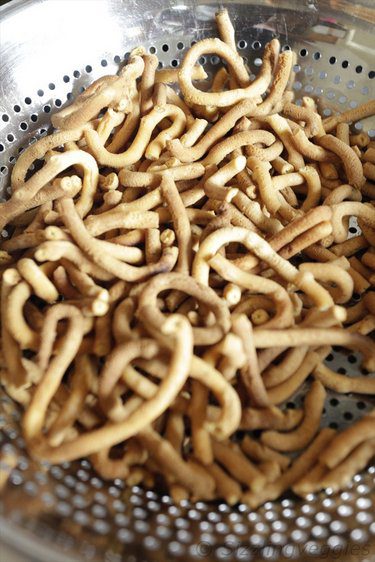
- Add the dough to the murukku press and rotate the handle as you swirl into hot oil. Let the Kara sev fry for few minutes then carefully flip to the other side. Fry until the Kara sev turns golden brown and the bubbles in the oil subsides. Remove the Kara sev on a strainer. Break the Kara sev in to bite size bits. Serve with coffee/tea. Store remaining Kara sev in an airtight container. Enjoy!!!
Notes
To see how a murukku press looks check one of the links
link 1 (the one with rotating handle in the top)
link 2 (the old model of murukku press)
Usually the disc used for Kara sev should have 3 or more holes but bigger ones.