Soy milk is really easy to make at home. It is very, lacto-free, nutritious, and safe from preservative or any other harmful chemicals. Making soy milk at home can be a messy business, but the result is very rewarding. And as you know, homemade things are always very economical and far delicious than the store-bought.
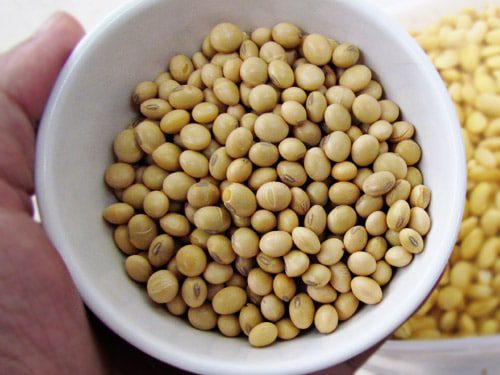
Pick your beans
Make sure you get organic and pesticide free soy beans. The beans should be clean and no tiny insect hiding in them. Wash the beans in running water to ensure they are clean form soil. Soak them overnight or at lease 12 hours. The beans would swell up twice the size and soft.
Gadgets needed
Food processer for grinding
Double Cheese cloth
Fine sift
2 large pots
Cooking soy milk
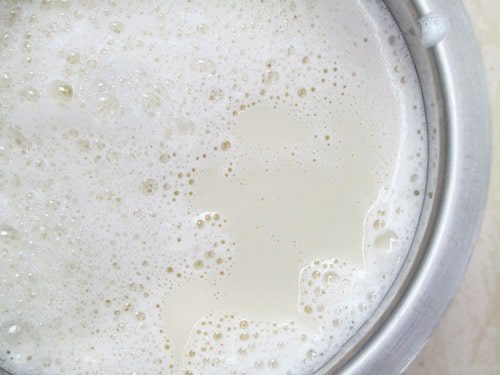
Soy milk should be handled as gently as possible. It should be heated over the medium-low heat and slowly bring to boil. You will also need to continuously stir to preventing from burning, and keep skimming off the foam.
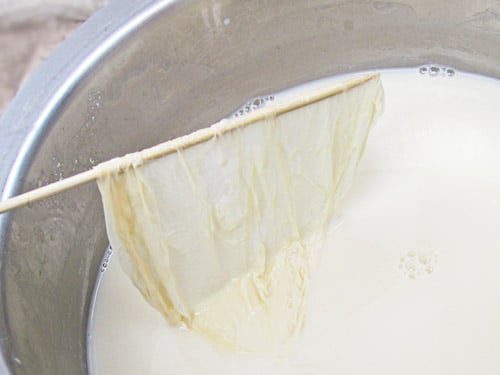
Bean Curd Sheet
When you leave cooked soy milk to cool down, you will notice the thin, solid layer formed over the surface. Don’t panic! It is bean sheet, actually eatable if you like. We would dry and save them later for a delicacy soup.
Homemade Soy milk
Ingredients (make about 2 ½ -3 L)
3 1/2 cup dried soy beans
Water as needed
Sugar to taste- optional
Preparation
- Wash soy beans and soak over night. The next morning rinse the beans in running until the water run clear.
- Add about 2 cup of soy beans in food processer with 3 cup of water and grind until smooth.
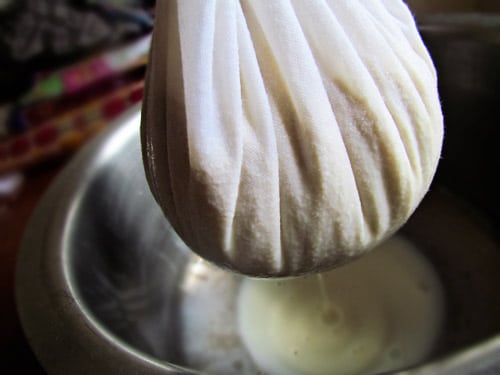
- Strain soy beans paste in double cheese colth, gently squeeze to drain soy milk from the paste. Add the discarded paste back into the food processor with 2 cup of water and grind it further for 30 seconds or so. Strain soy milk through the cheese cloth again. Repeat the process until all soy beans are used. There would be a lot of foam on the surface, pour all soy milk through the fine sift to remove foams and any impurities.
- Cook soy milk in the large pot over the MEDIUM-LOW heat. Continuously stir to prevent from burning at the bottom. Skim off any foam. Be patient and keep stirring until the milk is boiled. Simmer for few minutes and remove from the heat. Add sugar to taste if you like. Serve warm or chill.
*** it can be store in refrigerator upto 2-3 days.
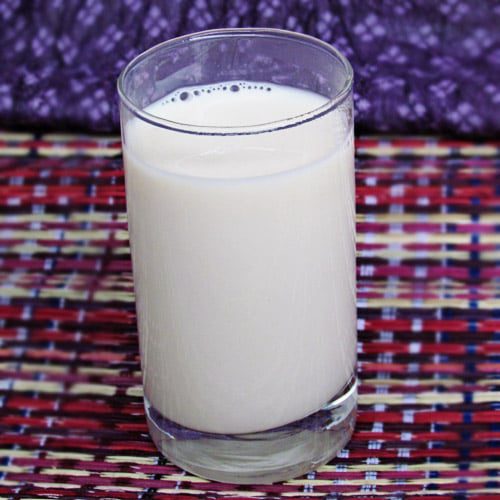
A cup of warm soy milk is very refreshing and comforting at the same time. It is so healthy and nutritious. I almost felt the valuable benefits of soy beans run through my veins and made me strong.
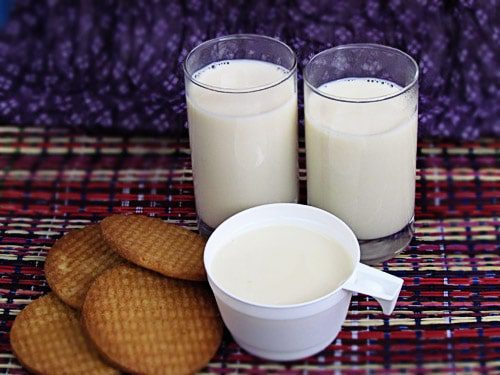
My son loves homemade soy milk. In fact, he doesn’t drink soy milk unless it’s homemade. Homemade soy milk was so gentle and earthy with satiny, smooth texture. We love a warm cup in the morning and icy, cold glass of it in the afternoon. It was so fresh and delightful.
Have a happy day,