This is my go to recipe whenever I get asked to bring a dessert but I’m pressed for time.
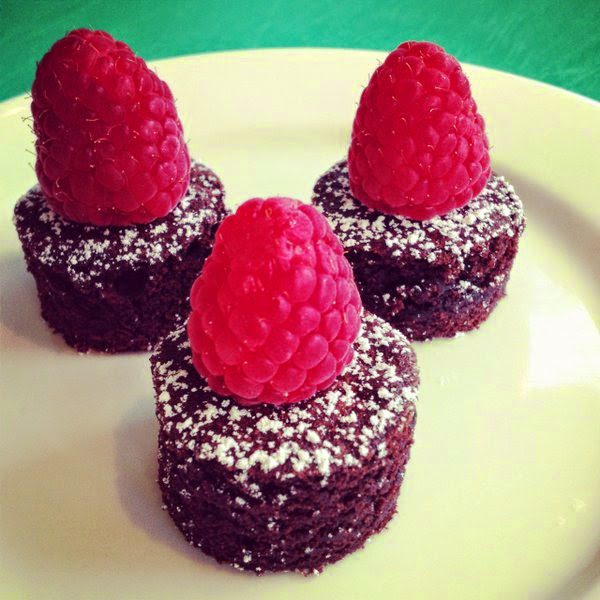
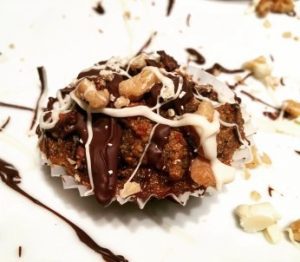
The basic brownie mix is so easy to whip up and can be as posh or simple as you want them to be. Dress them up with perfect raspberries, a drizzle of chocolate glaze or ganache or a sprinkle of cocoa powder. Or better still, simply dust them with icing sugar.
Serve them up as dessert canapé at a posh soirée. Bring them along to a morning tea or take it to your friend’s house for dessert next time you get invited for dinner.
It’s also a great beginner’s recipe for young learning cooks.
The first time I cooked them I was disappointed because they looked so
flat in the pan. “They’re too small!” I wailed to Mr Di-licious.
That was until I picked up my little round cutter, cut one out and
tasted it – absolute perfection!
And then there is the matter of the little cook’s treat you’re left with
after cutting out the brownies – brownie corners!
Pop them in a bowl and serve them up with a cuppa or crumble them up and
mix with frosting to make brownie cake pops!
Di-licious!
Recipe: Itty Bitty Brownie Bites
An original recipe by Di Nolan
These brownie bites are the perfect sweet treat to bring along to your
next party. I prefer to whip them up in my KitchenAid mixer but you can mix
them together by hand as well.
Ingredients
185g butter
3 eggs
1½ cups caster sugar
1 cup plain flour
¾ cup cocoa
1 pinch salt
icing sugar to decorate
Instructions
- Melt butter in a small saucepan over low heat and allow to cool. Set aside
- Grease a lamington pan (20x30cm) and line with baking paper so that it
extends over the edge of the pan. - Preheat oven to 180°C.
- Whip eggs and sugar together till well combined.
- In a separate bowl, sift together the flour, cocoa and salt. Add this to
the egg mixture with the cooled butter and stir until all combined. The mixture
will be thick. - Pour mixture into lined pan and spread it evenly with a spatula so it is
smooth. - Bake for approximately 15mins. The brownie should be cooked on top and a
skewer should come out with only a couple of crumbs clinging to it – not wet. - Allow tray to cool on a rack before turning out onto a cutting board.
- Using a small cutter (I like a 2.5cm one), cut out ‘bites’.
- Place cut out brownies onto a rack set over a tray or baking paper and
sprinkle over icing sugar. - Store in an airtight container for up to 2 days.
- Brownies are best eaten the day or day after being baked. They will
become firmer as they age but are still delicious.

