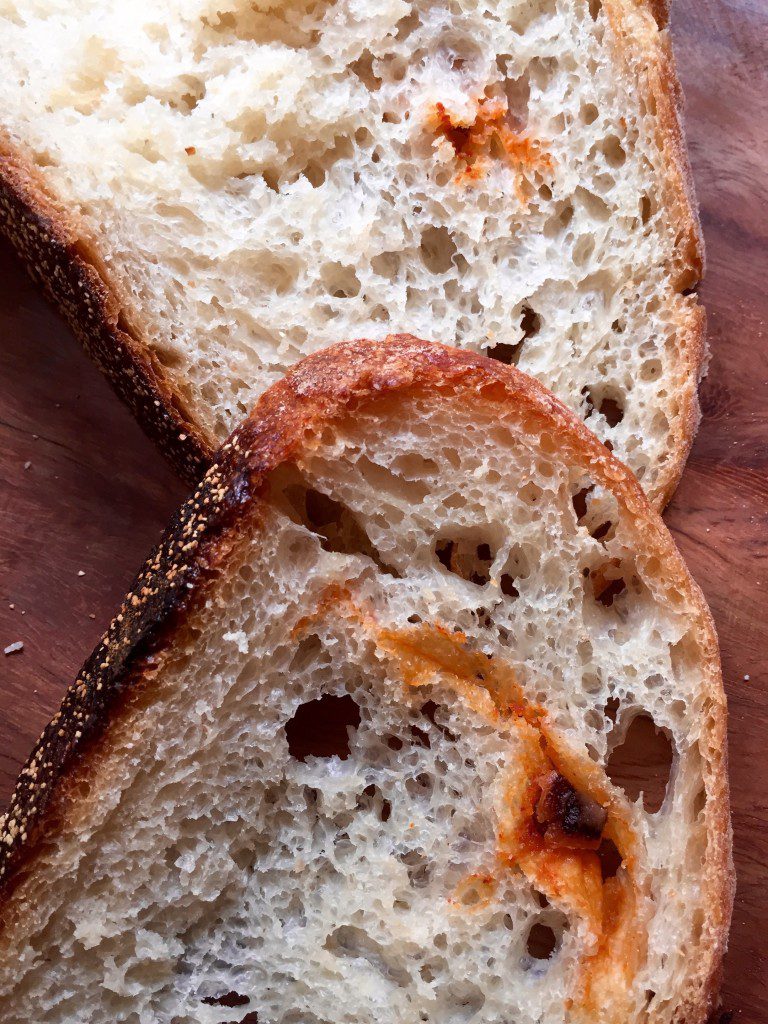
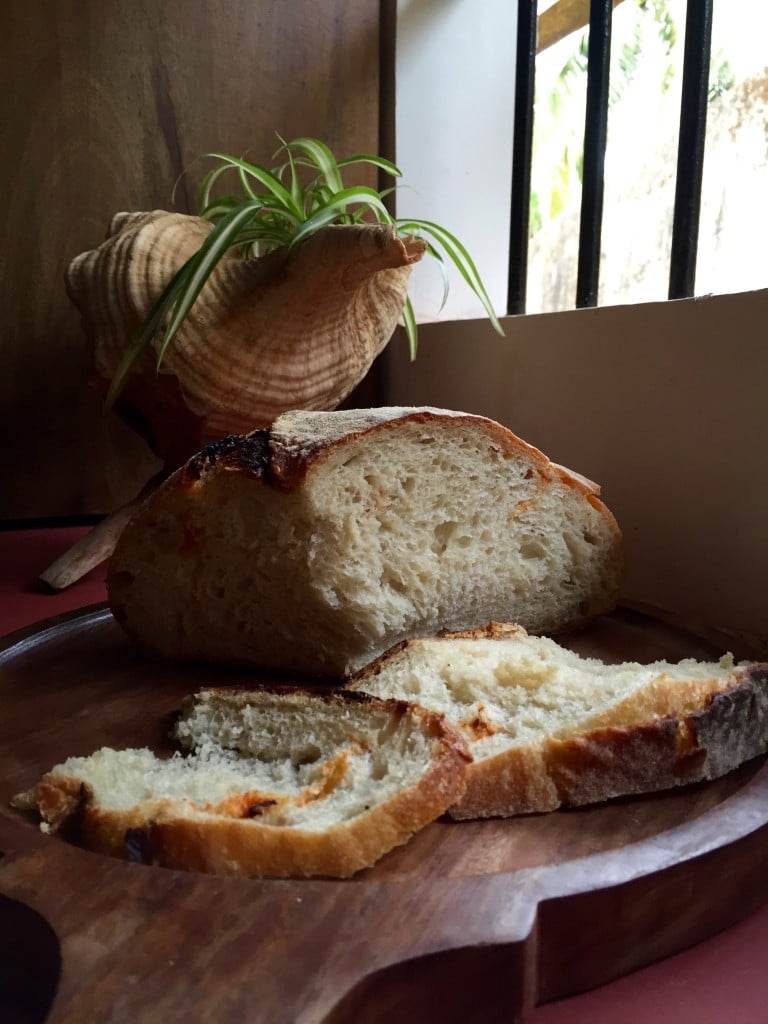
The last visit to Bombay was fruitful – a gift of 2 bottles of home made Gujarati Pickles, of which one was a sweet and sour and spicy date pickle that I enjoyed thoroughly. So, while baking my daily bread, I played and added some of the pickle just before I shaped the loaf. And I loved the occasional piquant bursts of flavour that complimented the complex notes of the naturally leavened bread. Here’s how you can recreate this simple bread:
Ingredients:
Water 350 gms
Leaven 100 gms (Substitute this with 5 gms of instant yeast)
Organic Maida (APF) 450 gms
Organic Atta (Whole Wheat flour) 50 gms
Sea Salt 10 gms
Method:
1) Autolyse: Measure 350 gms of water and transfer to the mixing bowl. Now measure 100 gms of the leaven and transfer it to the water. Stir till well mixed and add the flours to this mix. If you’re using instant yeast, just add the yeast to the flour mix. Mix well till all the flour is well hydrated and you can’t see any dry patches. Let the dough rest for 30 – 45 minutes. This is a crucial step as it allows the flour to absorb the water and relax into a cohesive mass. More importantly, this step kickstarts the gluten formation process. Here’s a Ken Forkish video (only to show you the process)
2) Mix: Now add the 10 gms of salt to the dough. Using your thumb and index finger like pincers cut through the dough and remix. Essentially, you want to ensure that the salt is evenly distributed across the dough. The dough will be sticky, so it’s advisable to have a bowl of water close by to wet your hands every time you find the dough sticking to your fingers and palm. Be careful while wetting your hand. You don’t want too much water to get transferred onto the dough. 
3) Turn: This is essentially a series of Stretch & Folds that you employ to develop the gluten. Here is another Ken Forkish video that shows you how to ‘turn’ the dough. The Tartine formula calls for 4 turns every 30 minutes. Essentially you’ll be done with the turns in 2 hours. Leave the dough covered for another hour or two till the dough increases in volume by 20 to 30%. You’ll also see air bubbles along the sides of the mixing bowl – indicators that the fermentation is done and the dough is ready to be shaped and proofed. I’ve never ever had to wait beyond 4 hours when I baked in Bangalore (from mixing time) for this stage. In Goa, I find that 30 minutes after turning is all that’s required. It’s the heat and the humidity.
4) Shape: Flour the inside edges of the mixing bowl and using a moist silicon spatula, gently nudge the dough onto a lightly floured surface. Quickly flour your fingers and stretch the dough (pulling outwards from under the dough) so that it’s flattened on the work surface. Now, stretch and fold the dough and shape into a ball. Here’s another video that shows you how to do this step. I’ve used plastic colanders to shape bread and I’ve found that they do the trick perfectly.
5) Proof: Leave the dough in its proofing basket (colander ). In about 2 hours or so, you should be ready. One way to check if the dough is ready is to do the finger dent test. Here’s a video with more details. In Goa, I cold-proof the dough for 2 hours – to ensure that the dough doesn’t over-proof.If you’re using instant yeast, the dough should be proofed and ready in about an hour.
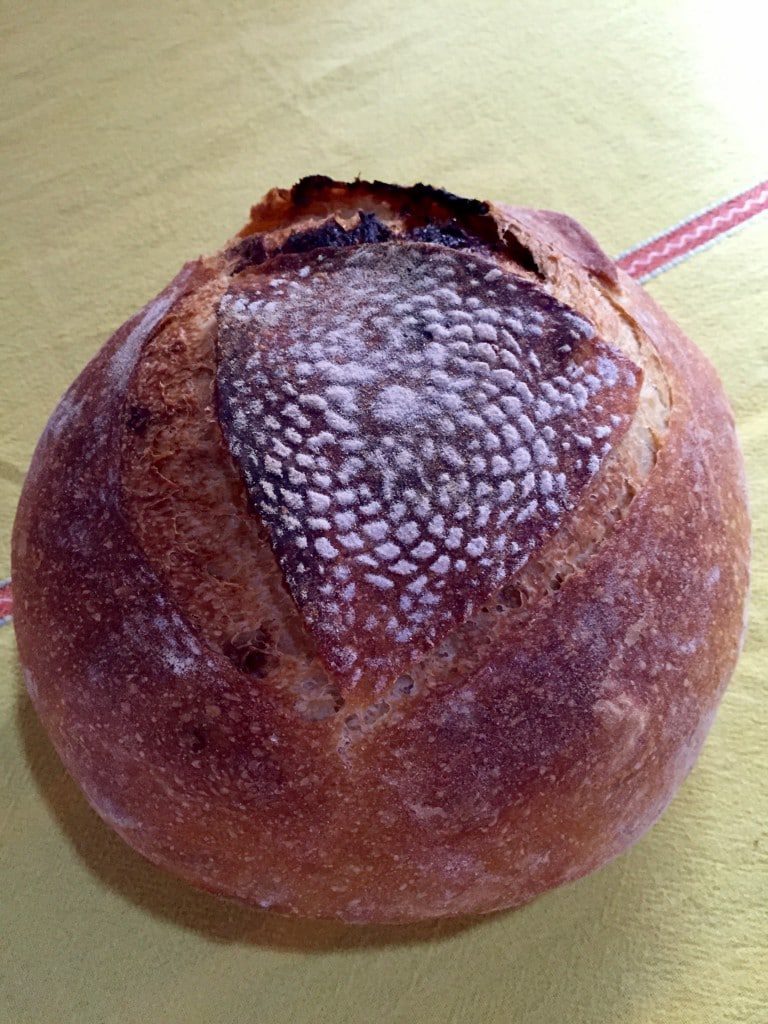
6) Bake: Pre-heat oven to max temperature (250C) with a Dutch Oven (DO) in it. I normally heat it for 40 minutes. This needs to be timed in a manner that when the dough is proofed and ready, the DO is also hot and ready. From experience I know that the dough will be proofed and ready, 2 hours after shaping and keeping that in mind I time the pre-heating of the oven. I also like my sourdough bread mild and am not a fan of sour tones – something that can seep in very easily with longer proofing time. Ken Forkish (who’s video link is there below) doesn’t slash his breads and he also transfers them to the DO seam side up. I transferred the dough seam side down (as is recommended by Tartine). I then placed a crochet doily on the dough and dusted it with some flour and then scored the surface. Bake for 30 minutes at 250°C with the lid on followed by 10 – 15 minutes with the lid off at 225°C or till the loaf is a gorgeous medium dark brown. When this is done, transfer to a cooling rack and it rest for 30 minutes before slicing. Here’s yet another video in which Ken shows you how to do this step.
And finally, here’s a link that shows the entire process in brief.
Here’s what the bread looked like when it came out of the oven.
Here’s a closer look
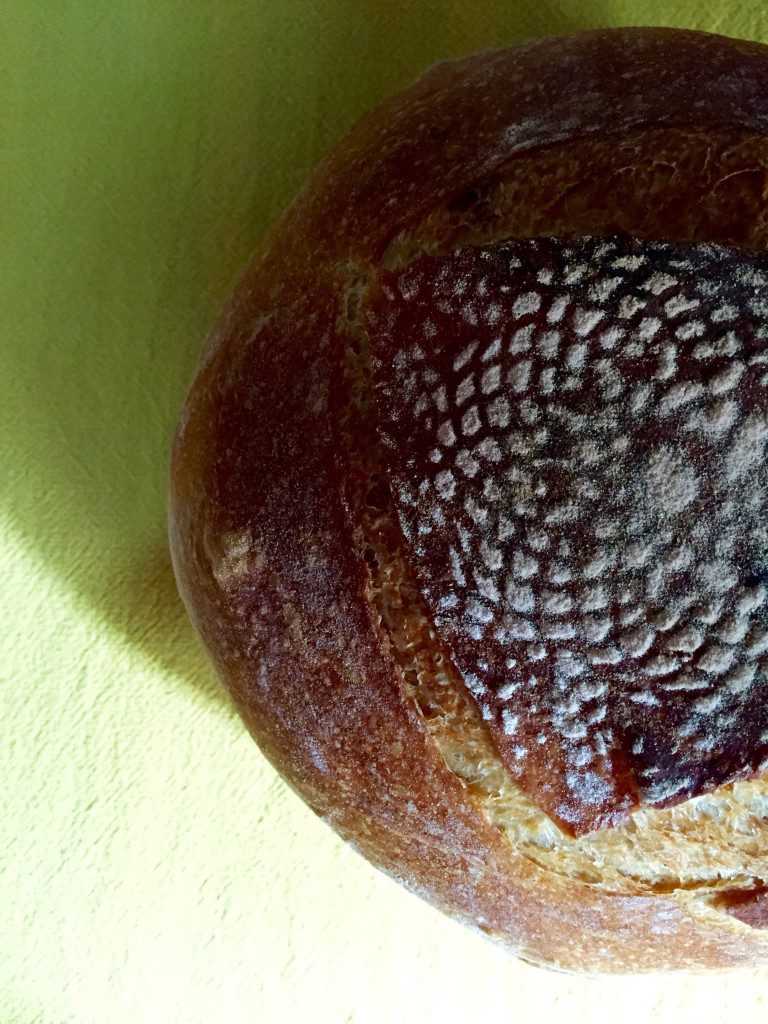
And here’s one more
Happy Baking !

